
This year for Easter, I really wanted to step up my egg game. The past two years I’ve kept the Easter decor to a minimal, gracing our space with only a vase of fresh tulips and a small bowl of Cadbury Mini Eggs. But let’s face it, the tulips never lasted and certainly neither did the Cadbury Mini Eggs.
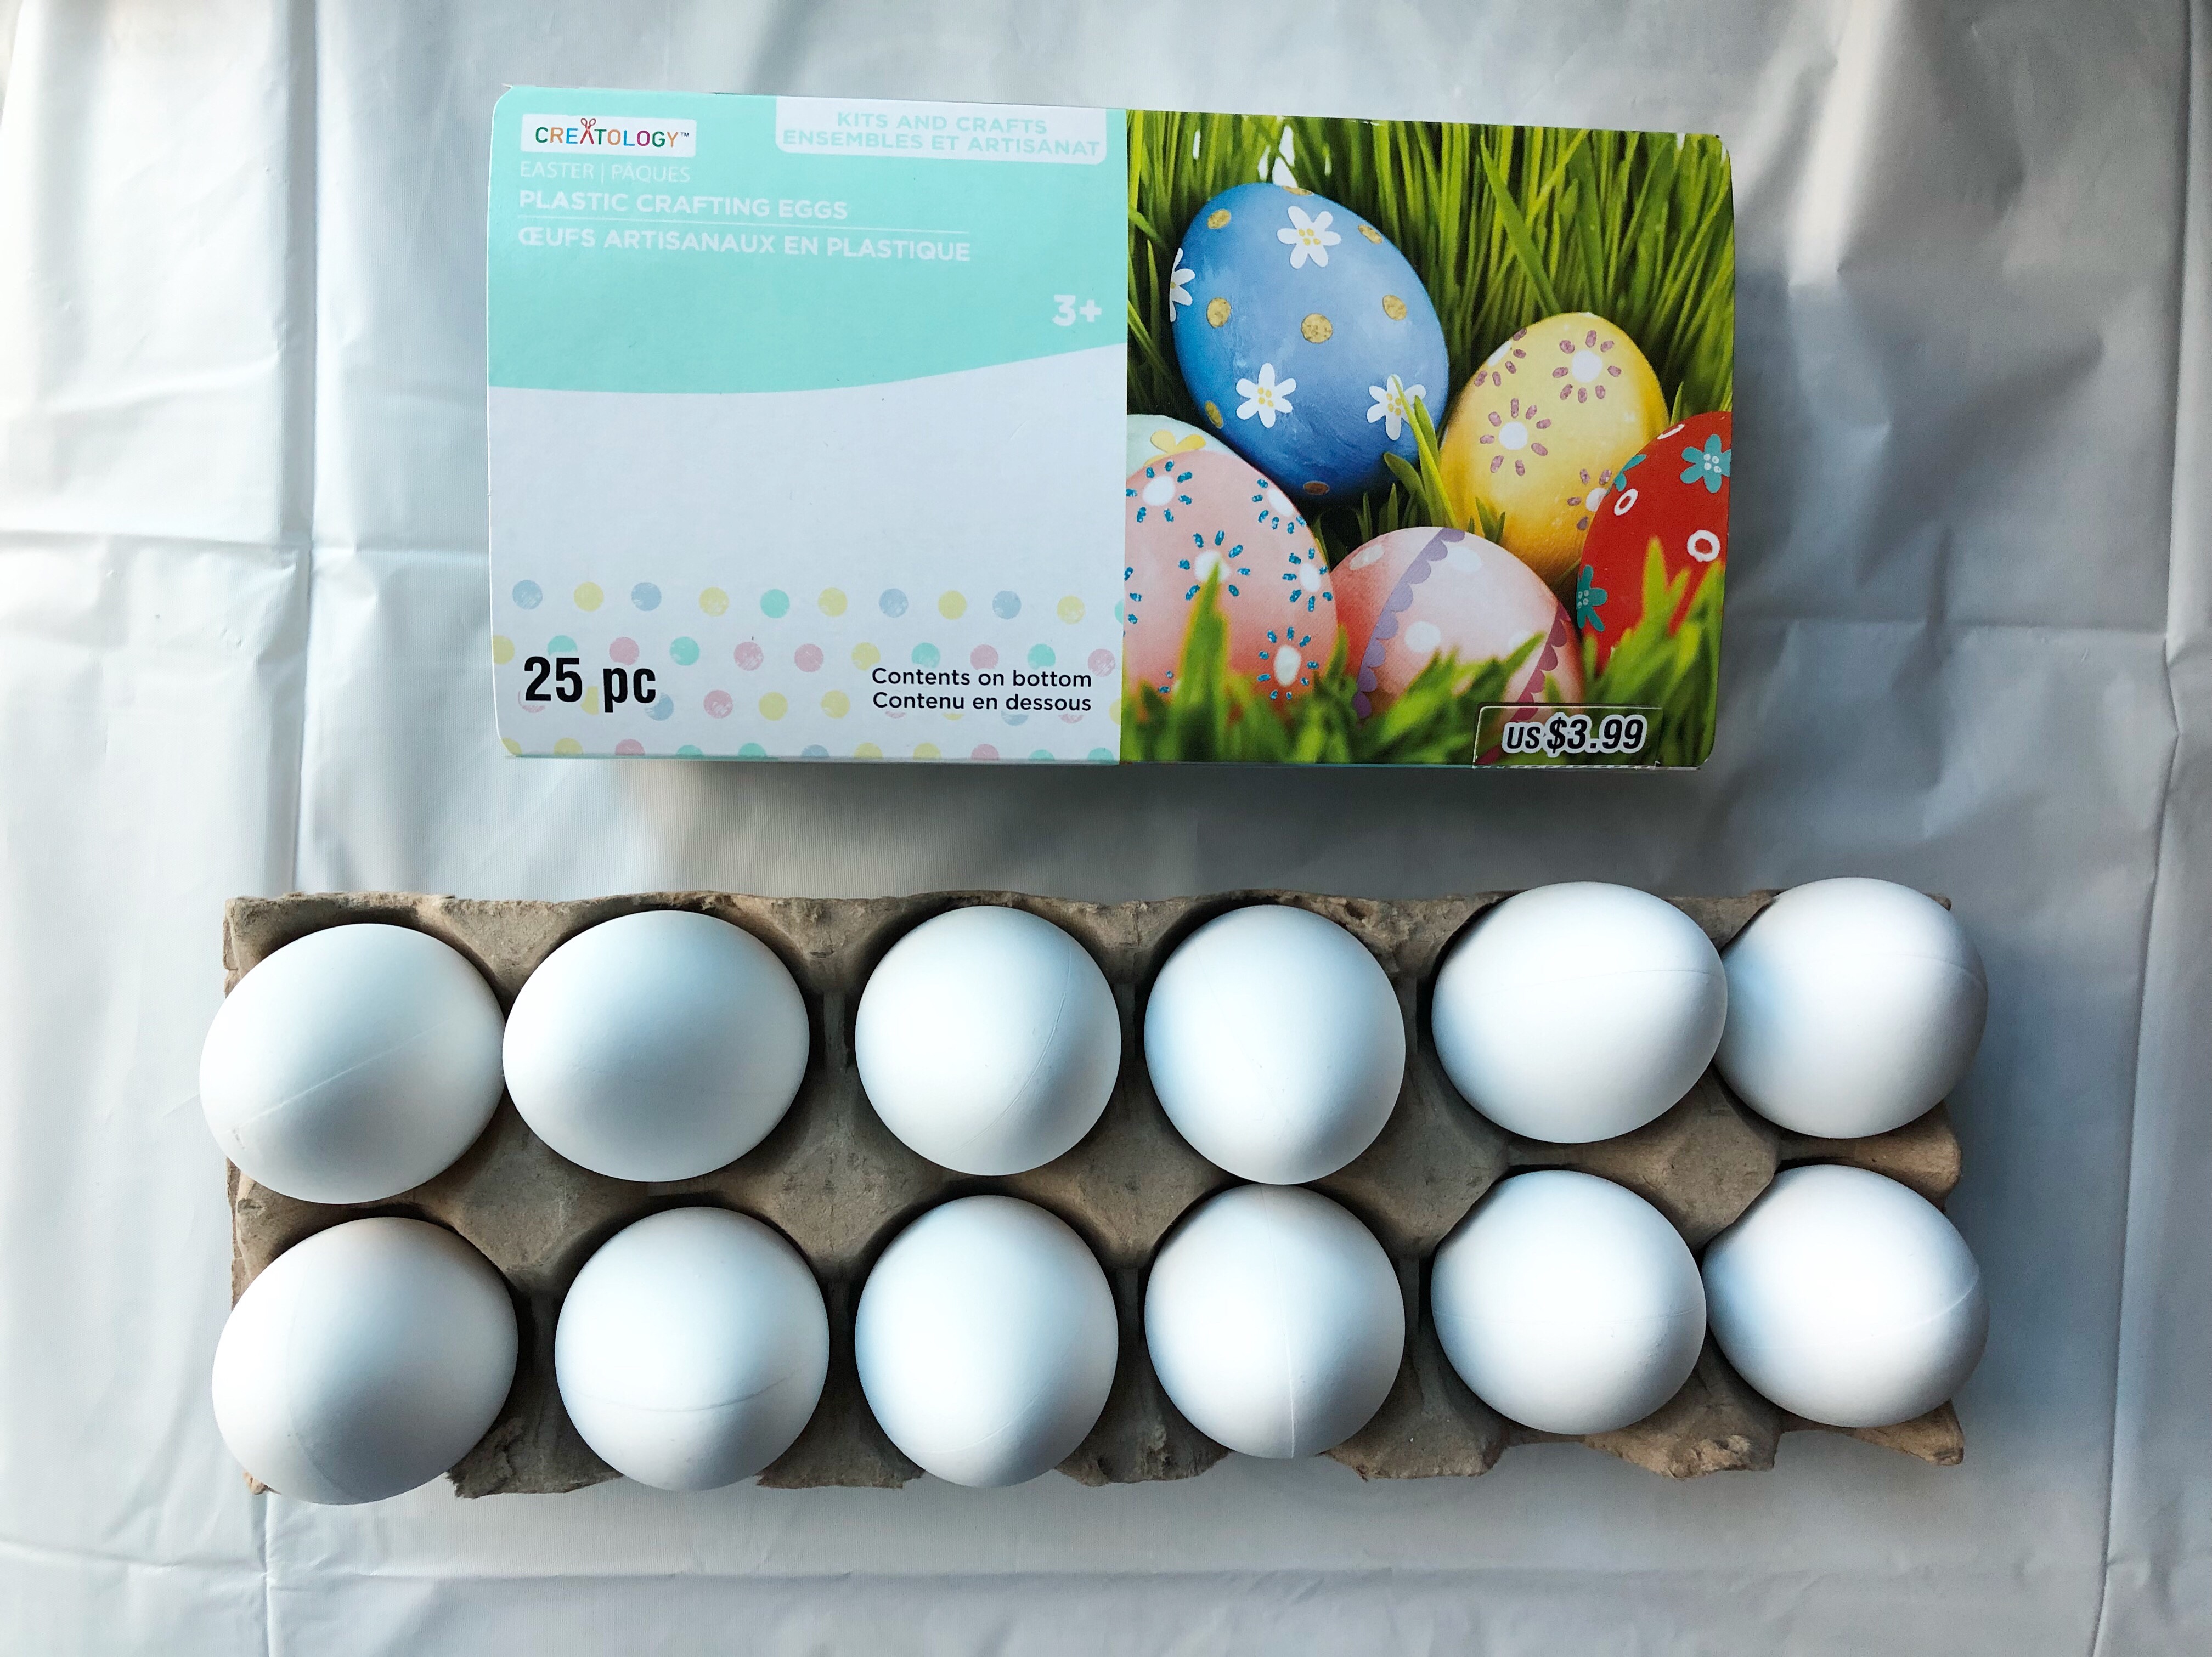
I wanted to create something unique that I could re-use again every Spring. After attending a fascinating pysanka workshop, I was inspired to learn other egg-decorating methods that I’ve never tried before. I picked up a carton of plastic crafting eggs, and thought about how I wanted to dress up my blank canvases.
There were a multitude of creative and fun ideas on the interwebs, but I stopped myself from going down the Pinterest rabbit hole (ha! Rabbits, Easter…get it?), and committed myself to only two simple looks.
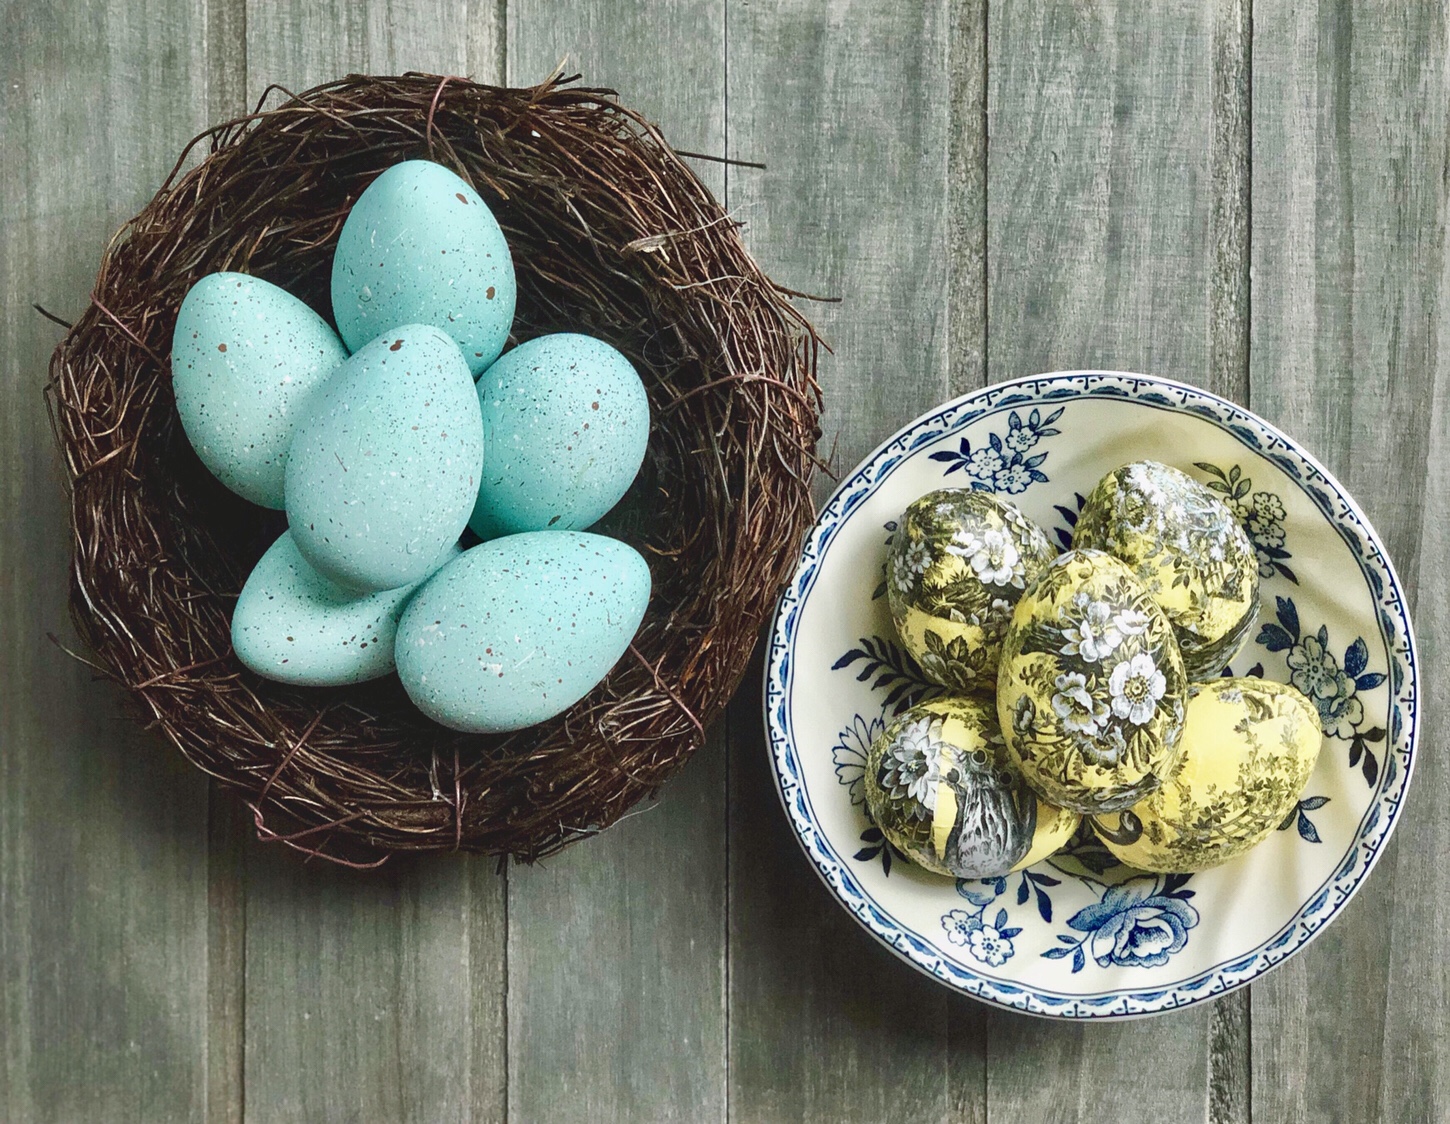
A robin’s eggs nest and a decoupage egg.
Robin’s Eggs Nest
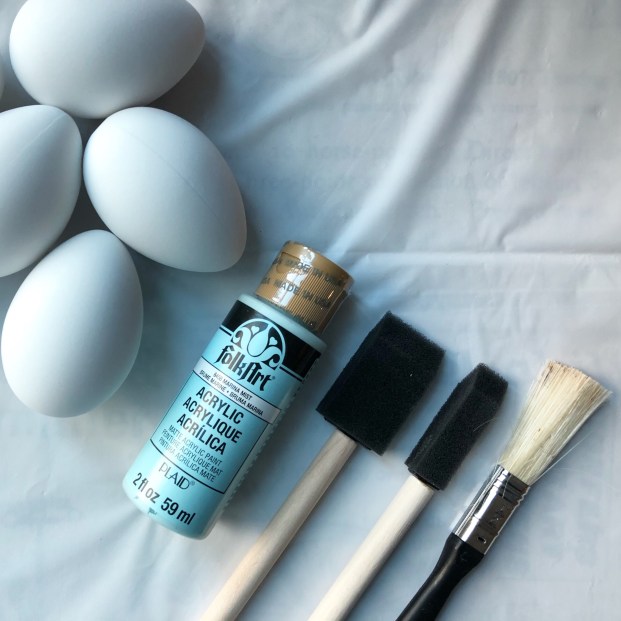
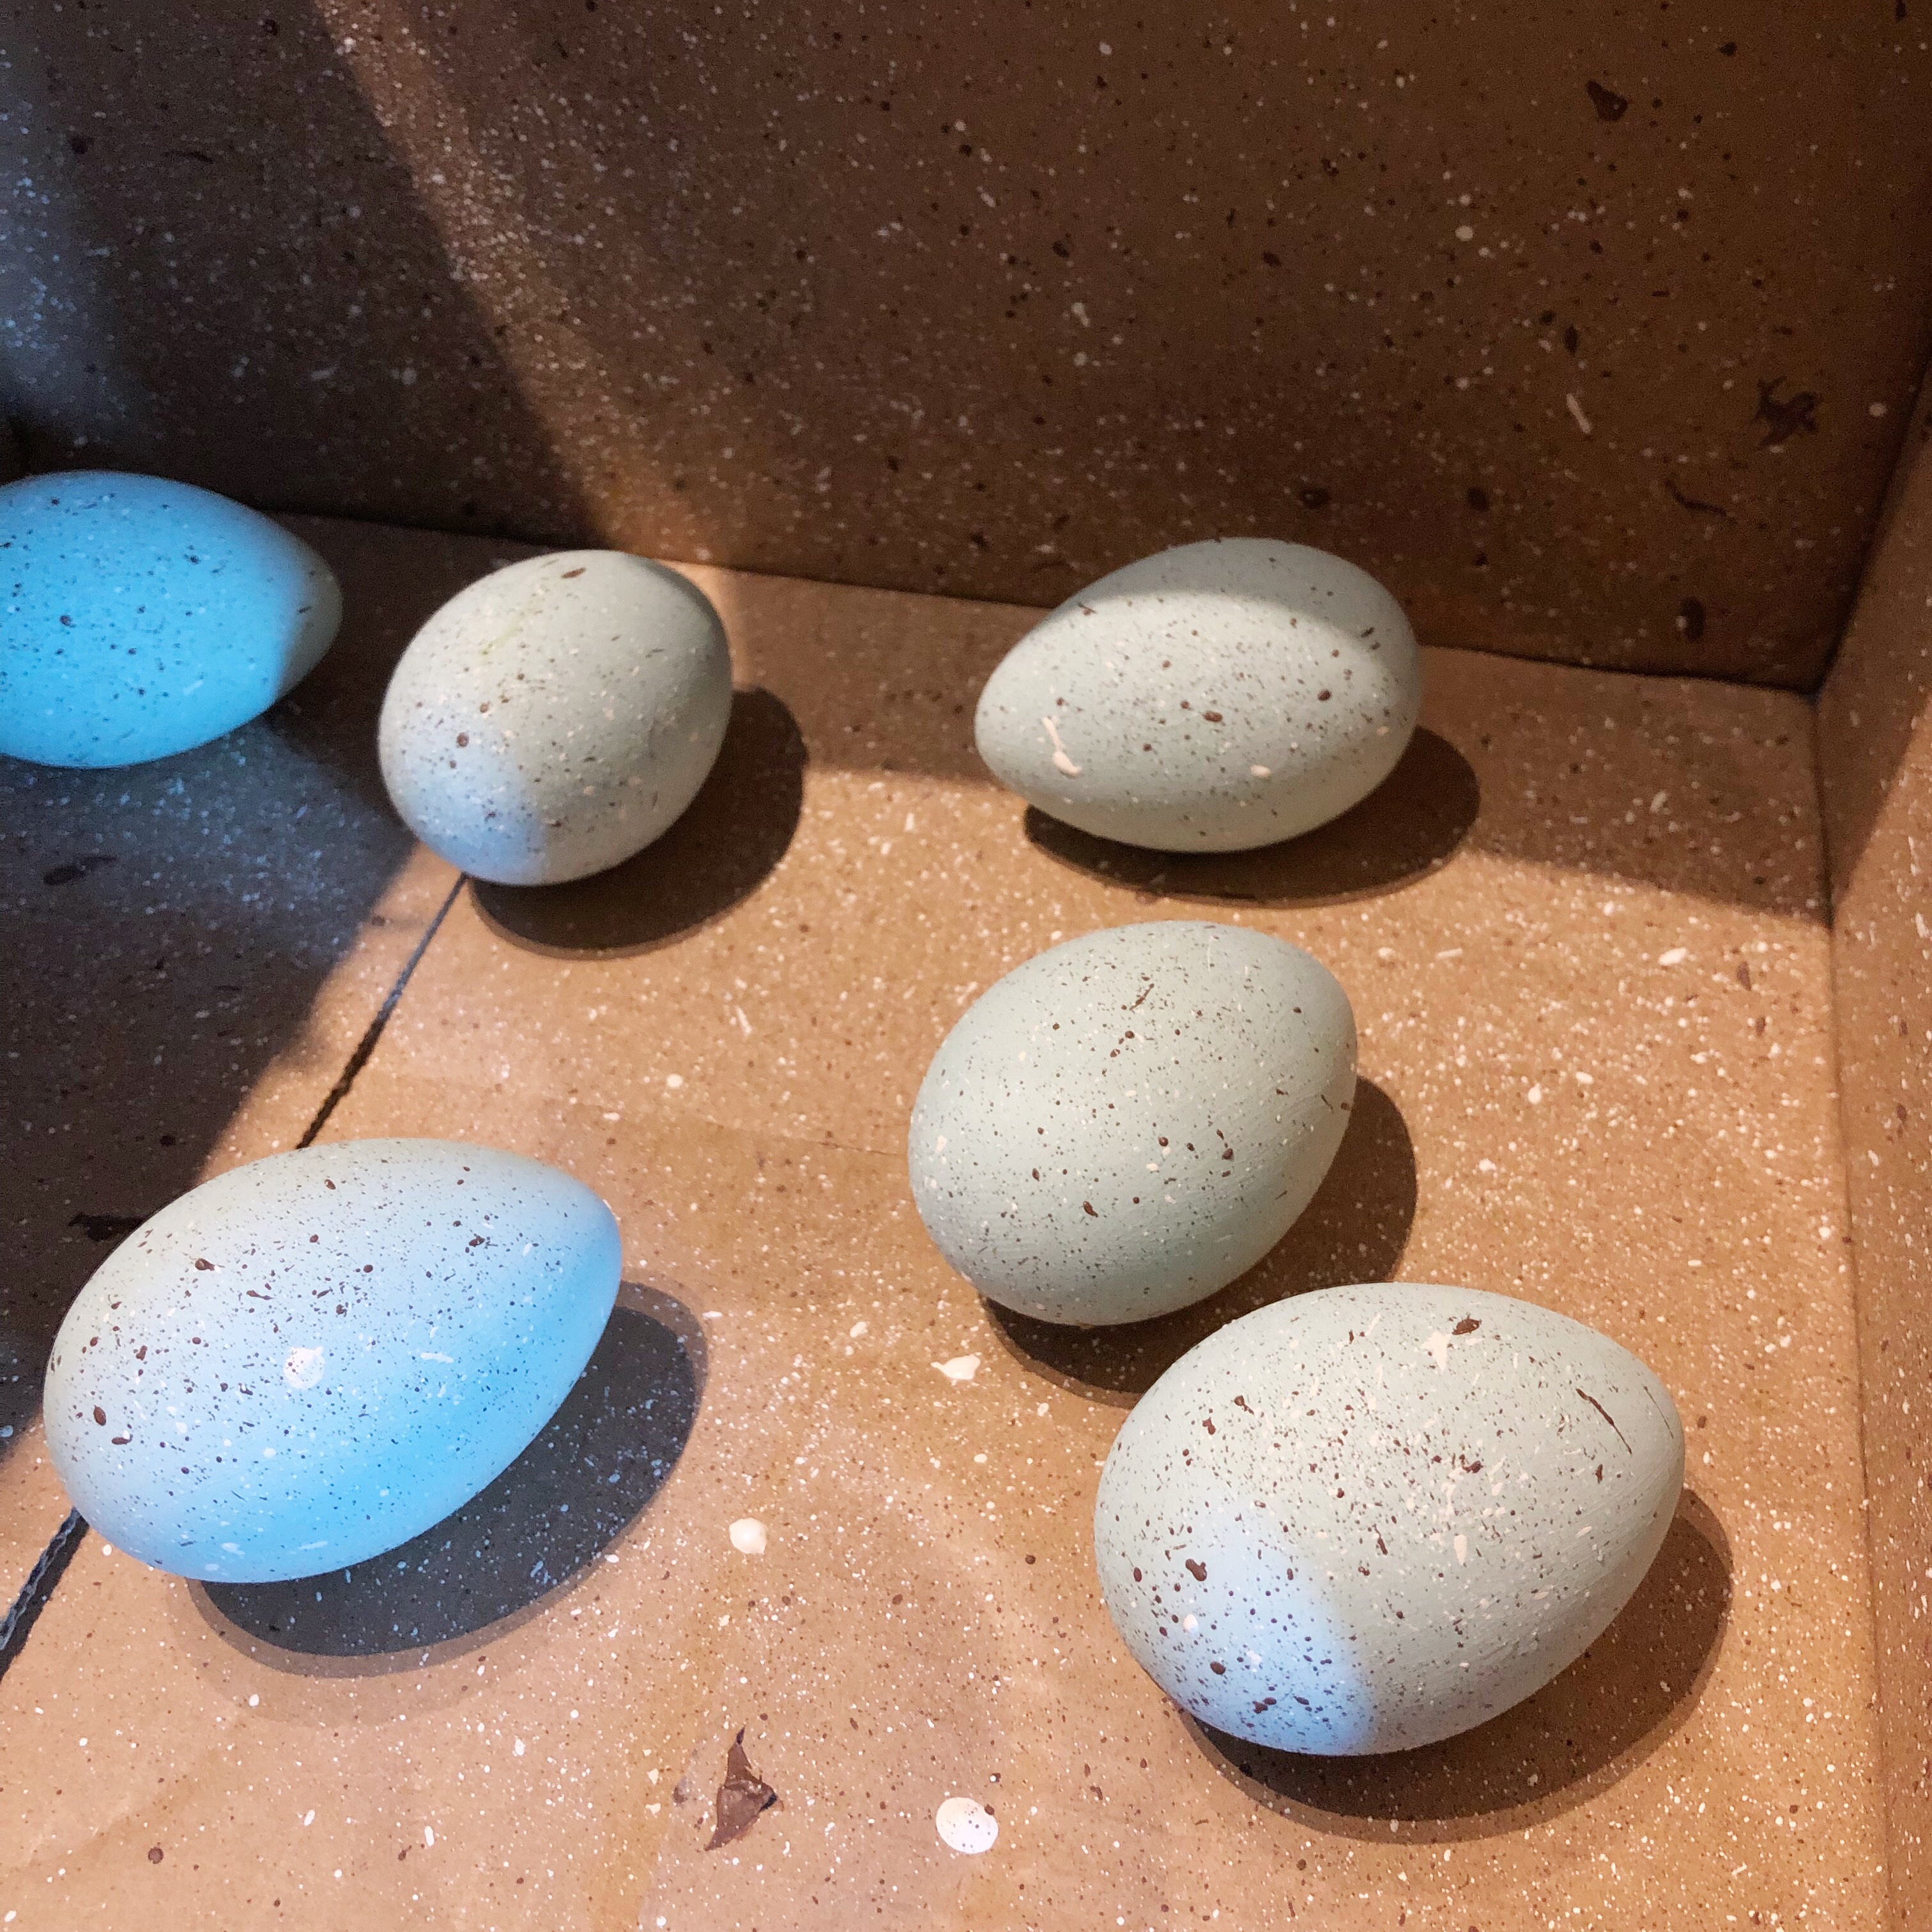
Is there anything more whimsical than an earthy nest housing bright blue eggs? To achieve that magical woodland vibe, I used a light blue matte paint in the colour “Marina Mist” as the base. You could definitely choose a more vibrant colour like turquoise, but I wanted something a bit more muted and airy.
I also used a sponge brush for the application. Sponge brushes are absolutely perfect to paint eggs, so I highly recommend them. They don’t leave brush streaks and they cover a good surface with an even coat of paint.
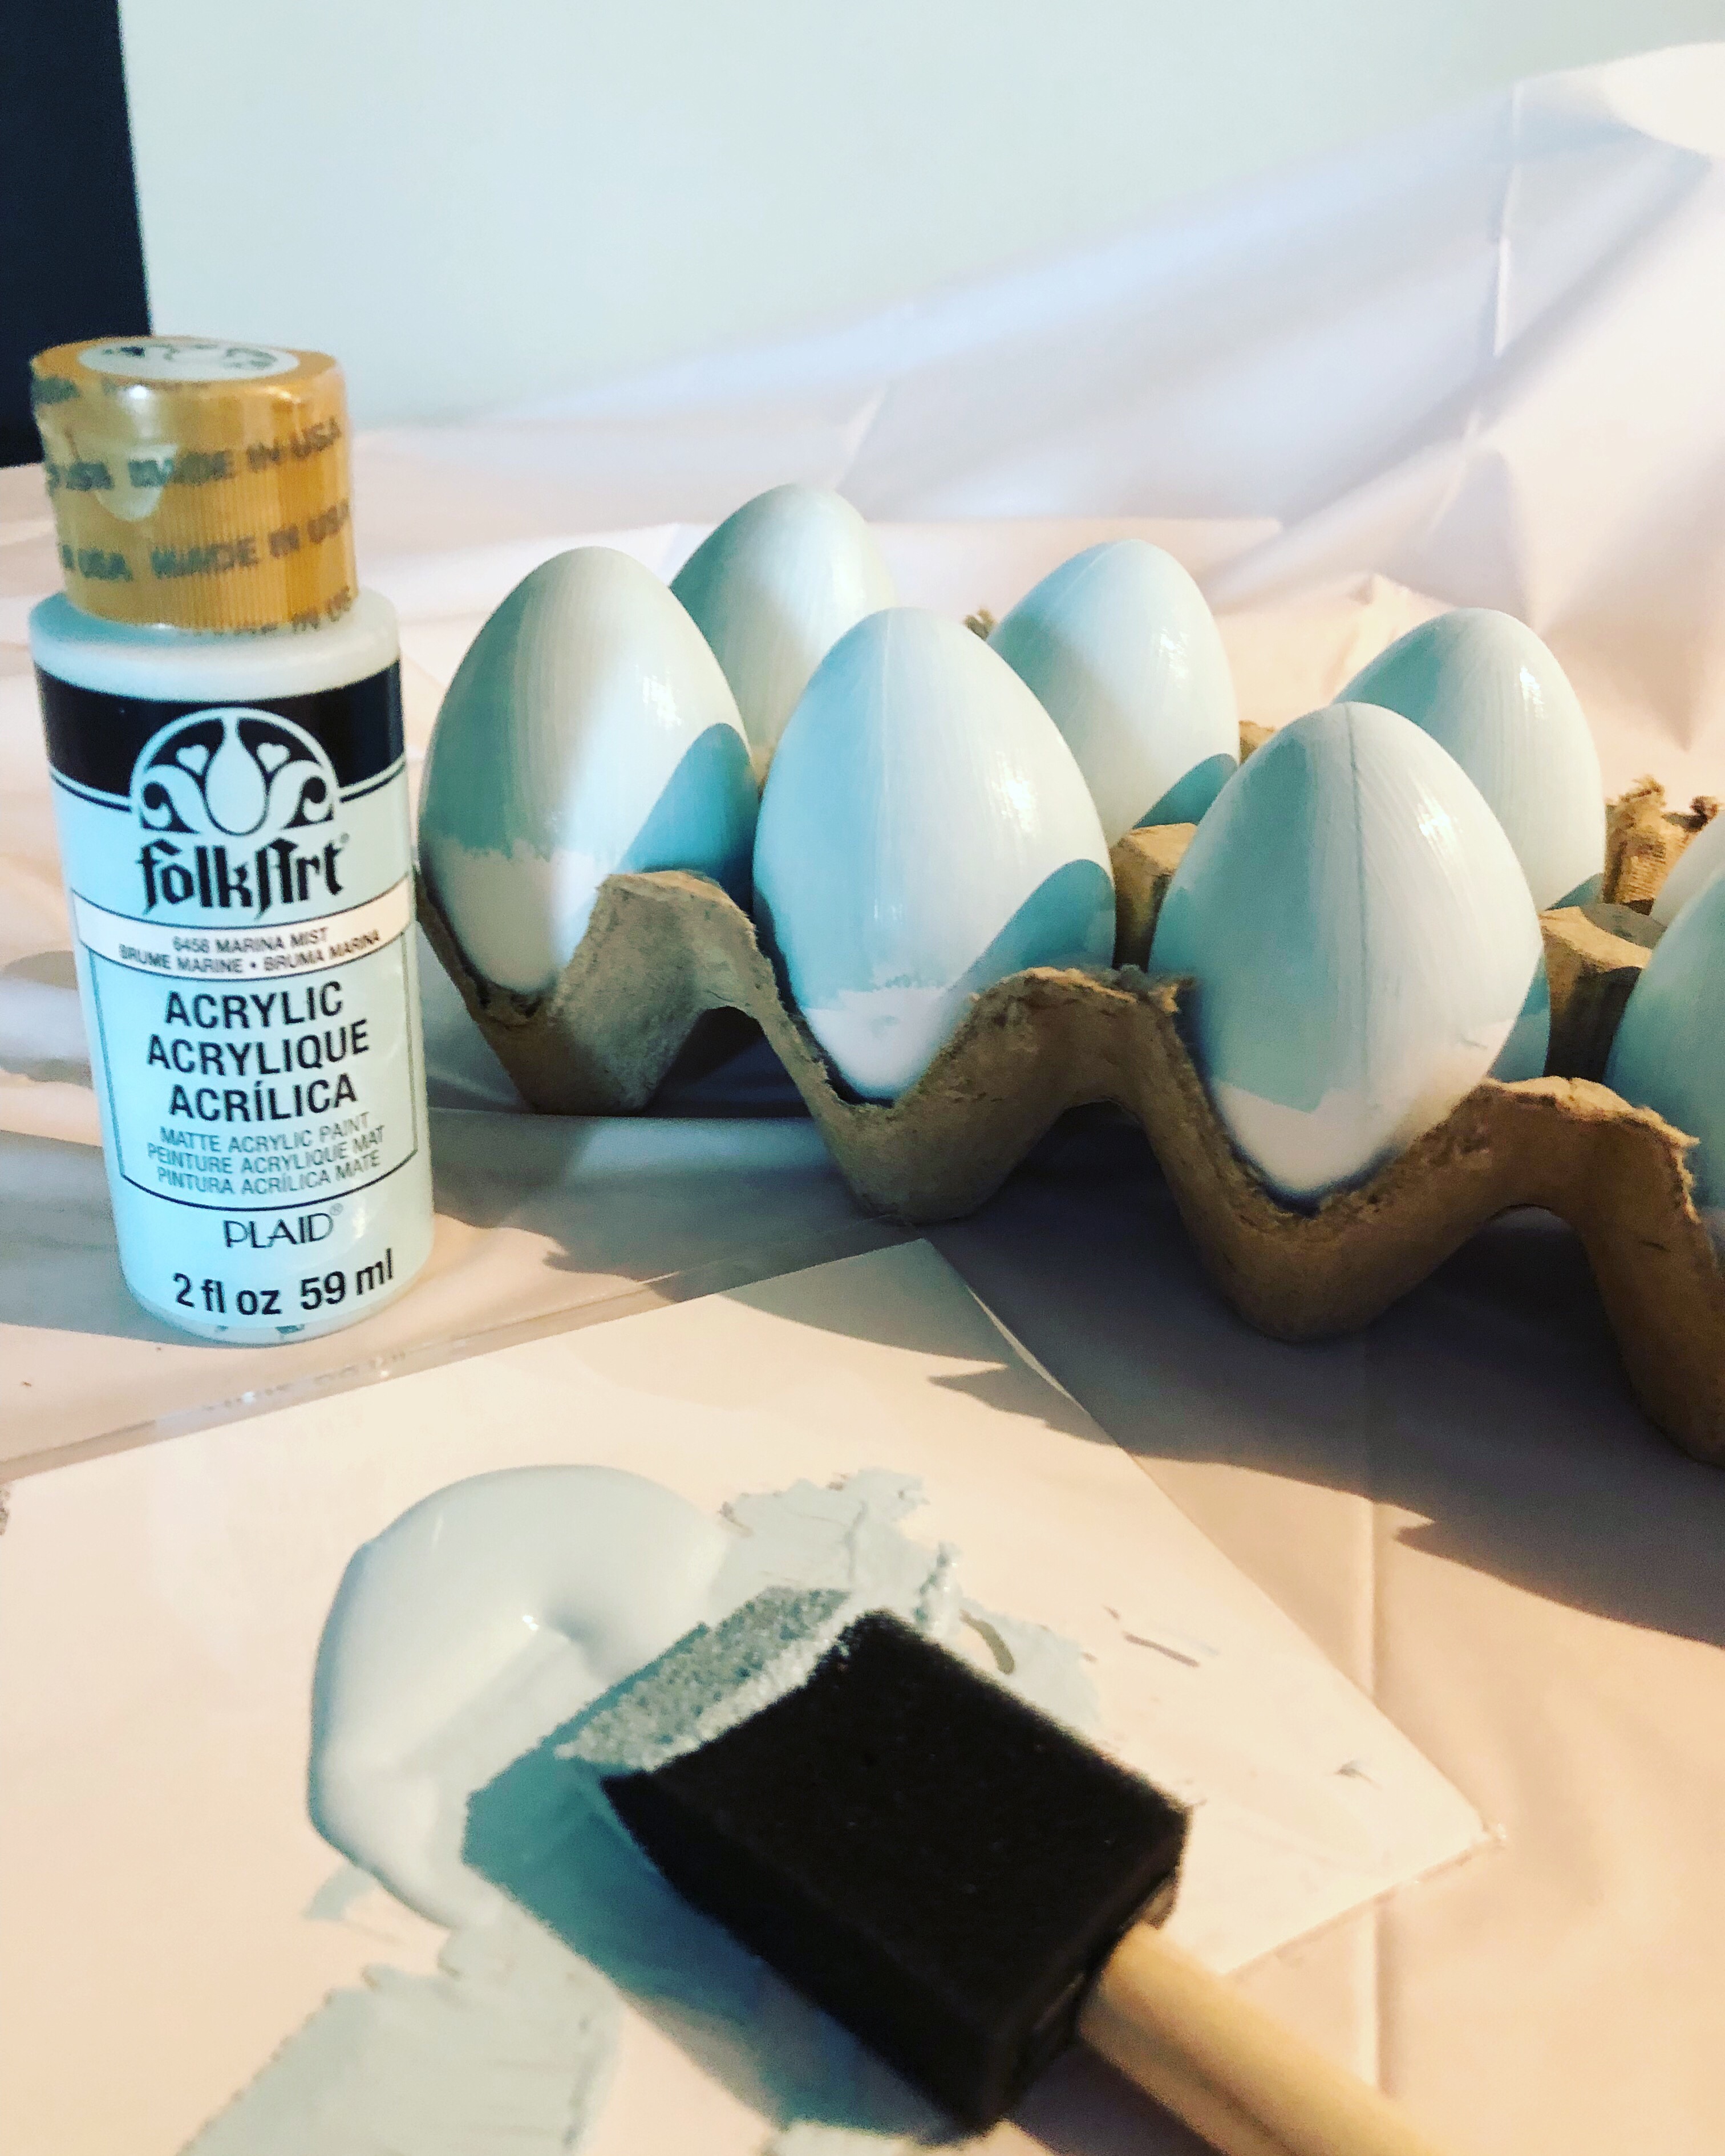
The easiest way I found to paint a rounded surface like an egg was to paint one half of the egg, place it in the carton, waited for it to dry, then flipped it over and painted the other half. I did 3 coats of paint, so I repeated this process 3 times (well, technically 6 times). You can see where the patience requirement comes in but luckily this paint dried pretty quickly, so you could easily knock this out in an afternoon.
Once your eggs are fully painted and dry, the next step is to speckle them. This is the fun part. Make sure you cover your working space so you don’t end up with paint splatter on your hardwood floors. I cut up one side of a box, placed my eggs in there and speckled away by running my finger over the bristle brush dipped in paint, towards my direction (so that the paint would splatter in the opposite direction towards the eggs).
I used brown and ivory white to re-create those natural specks you often see on the eggs.
For the final touch, I used a bird’s nest (I picked mine up from the dollar store) and delicately placed my fresh, speckled, robin blue eggs to be nestled inside and admired.
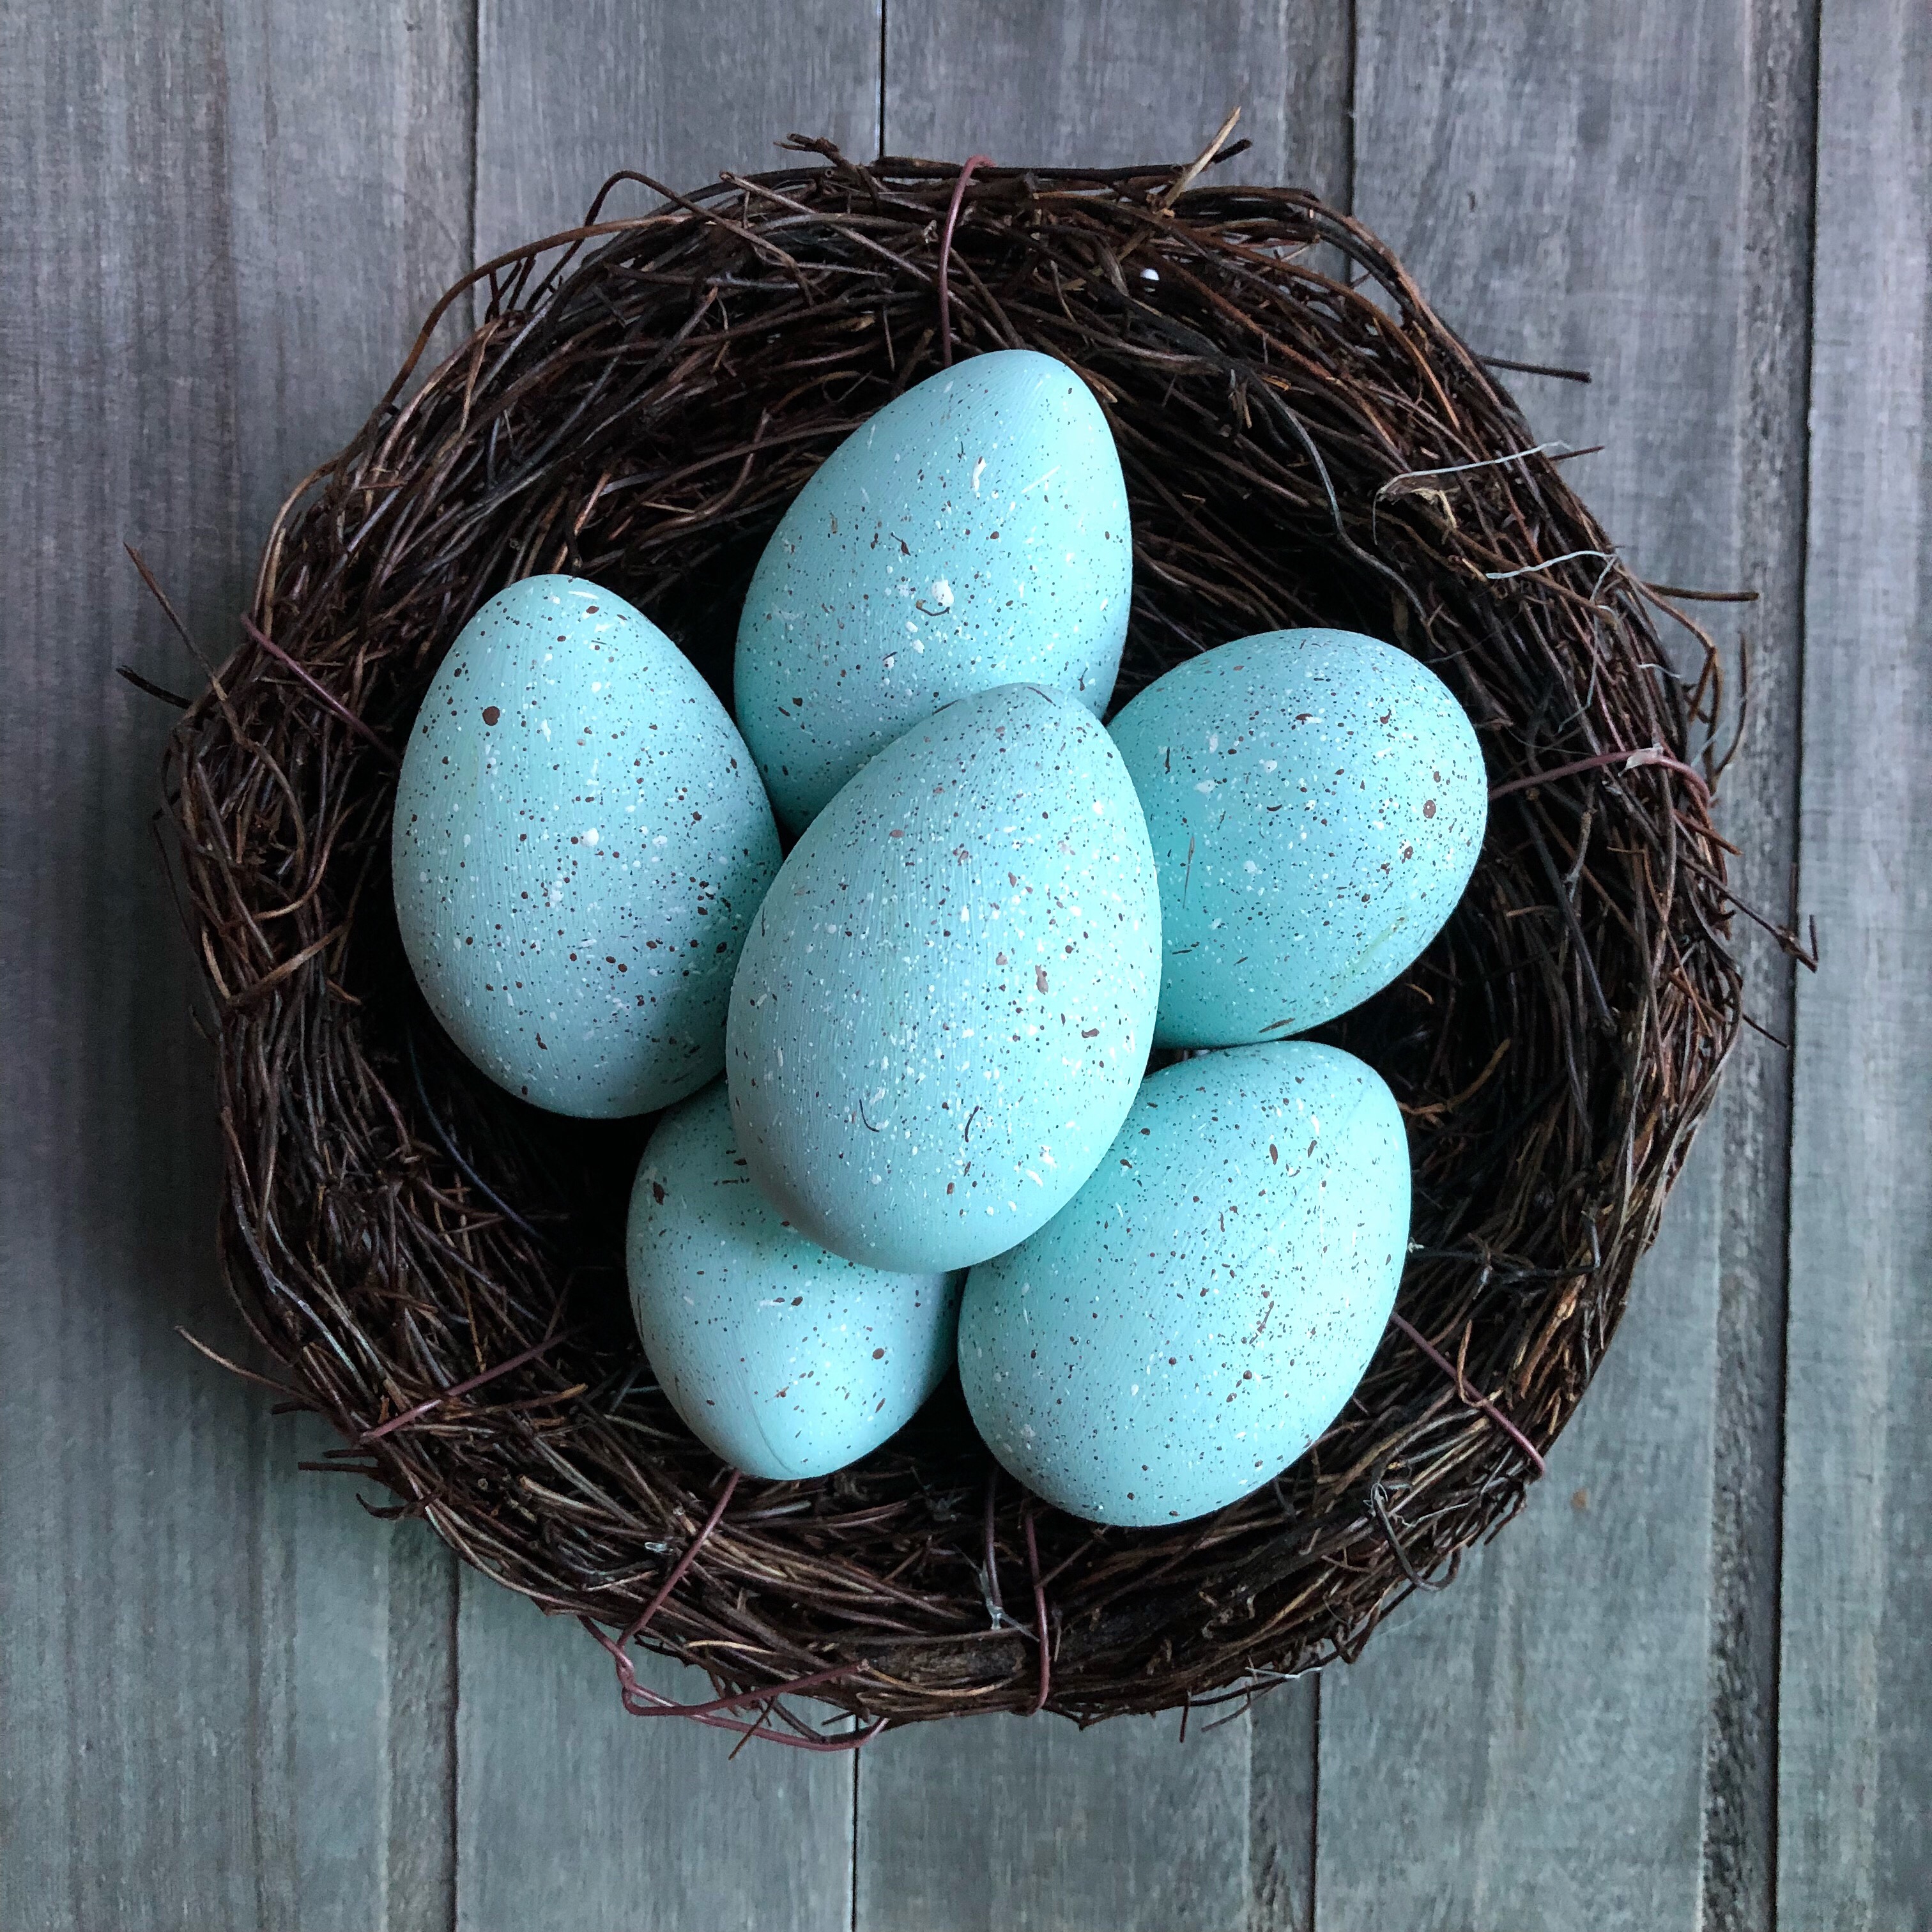
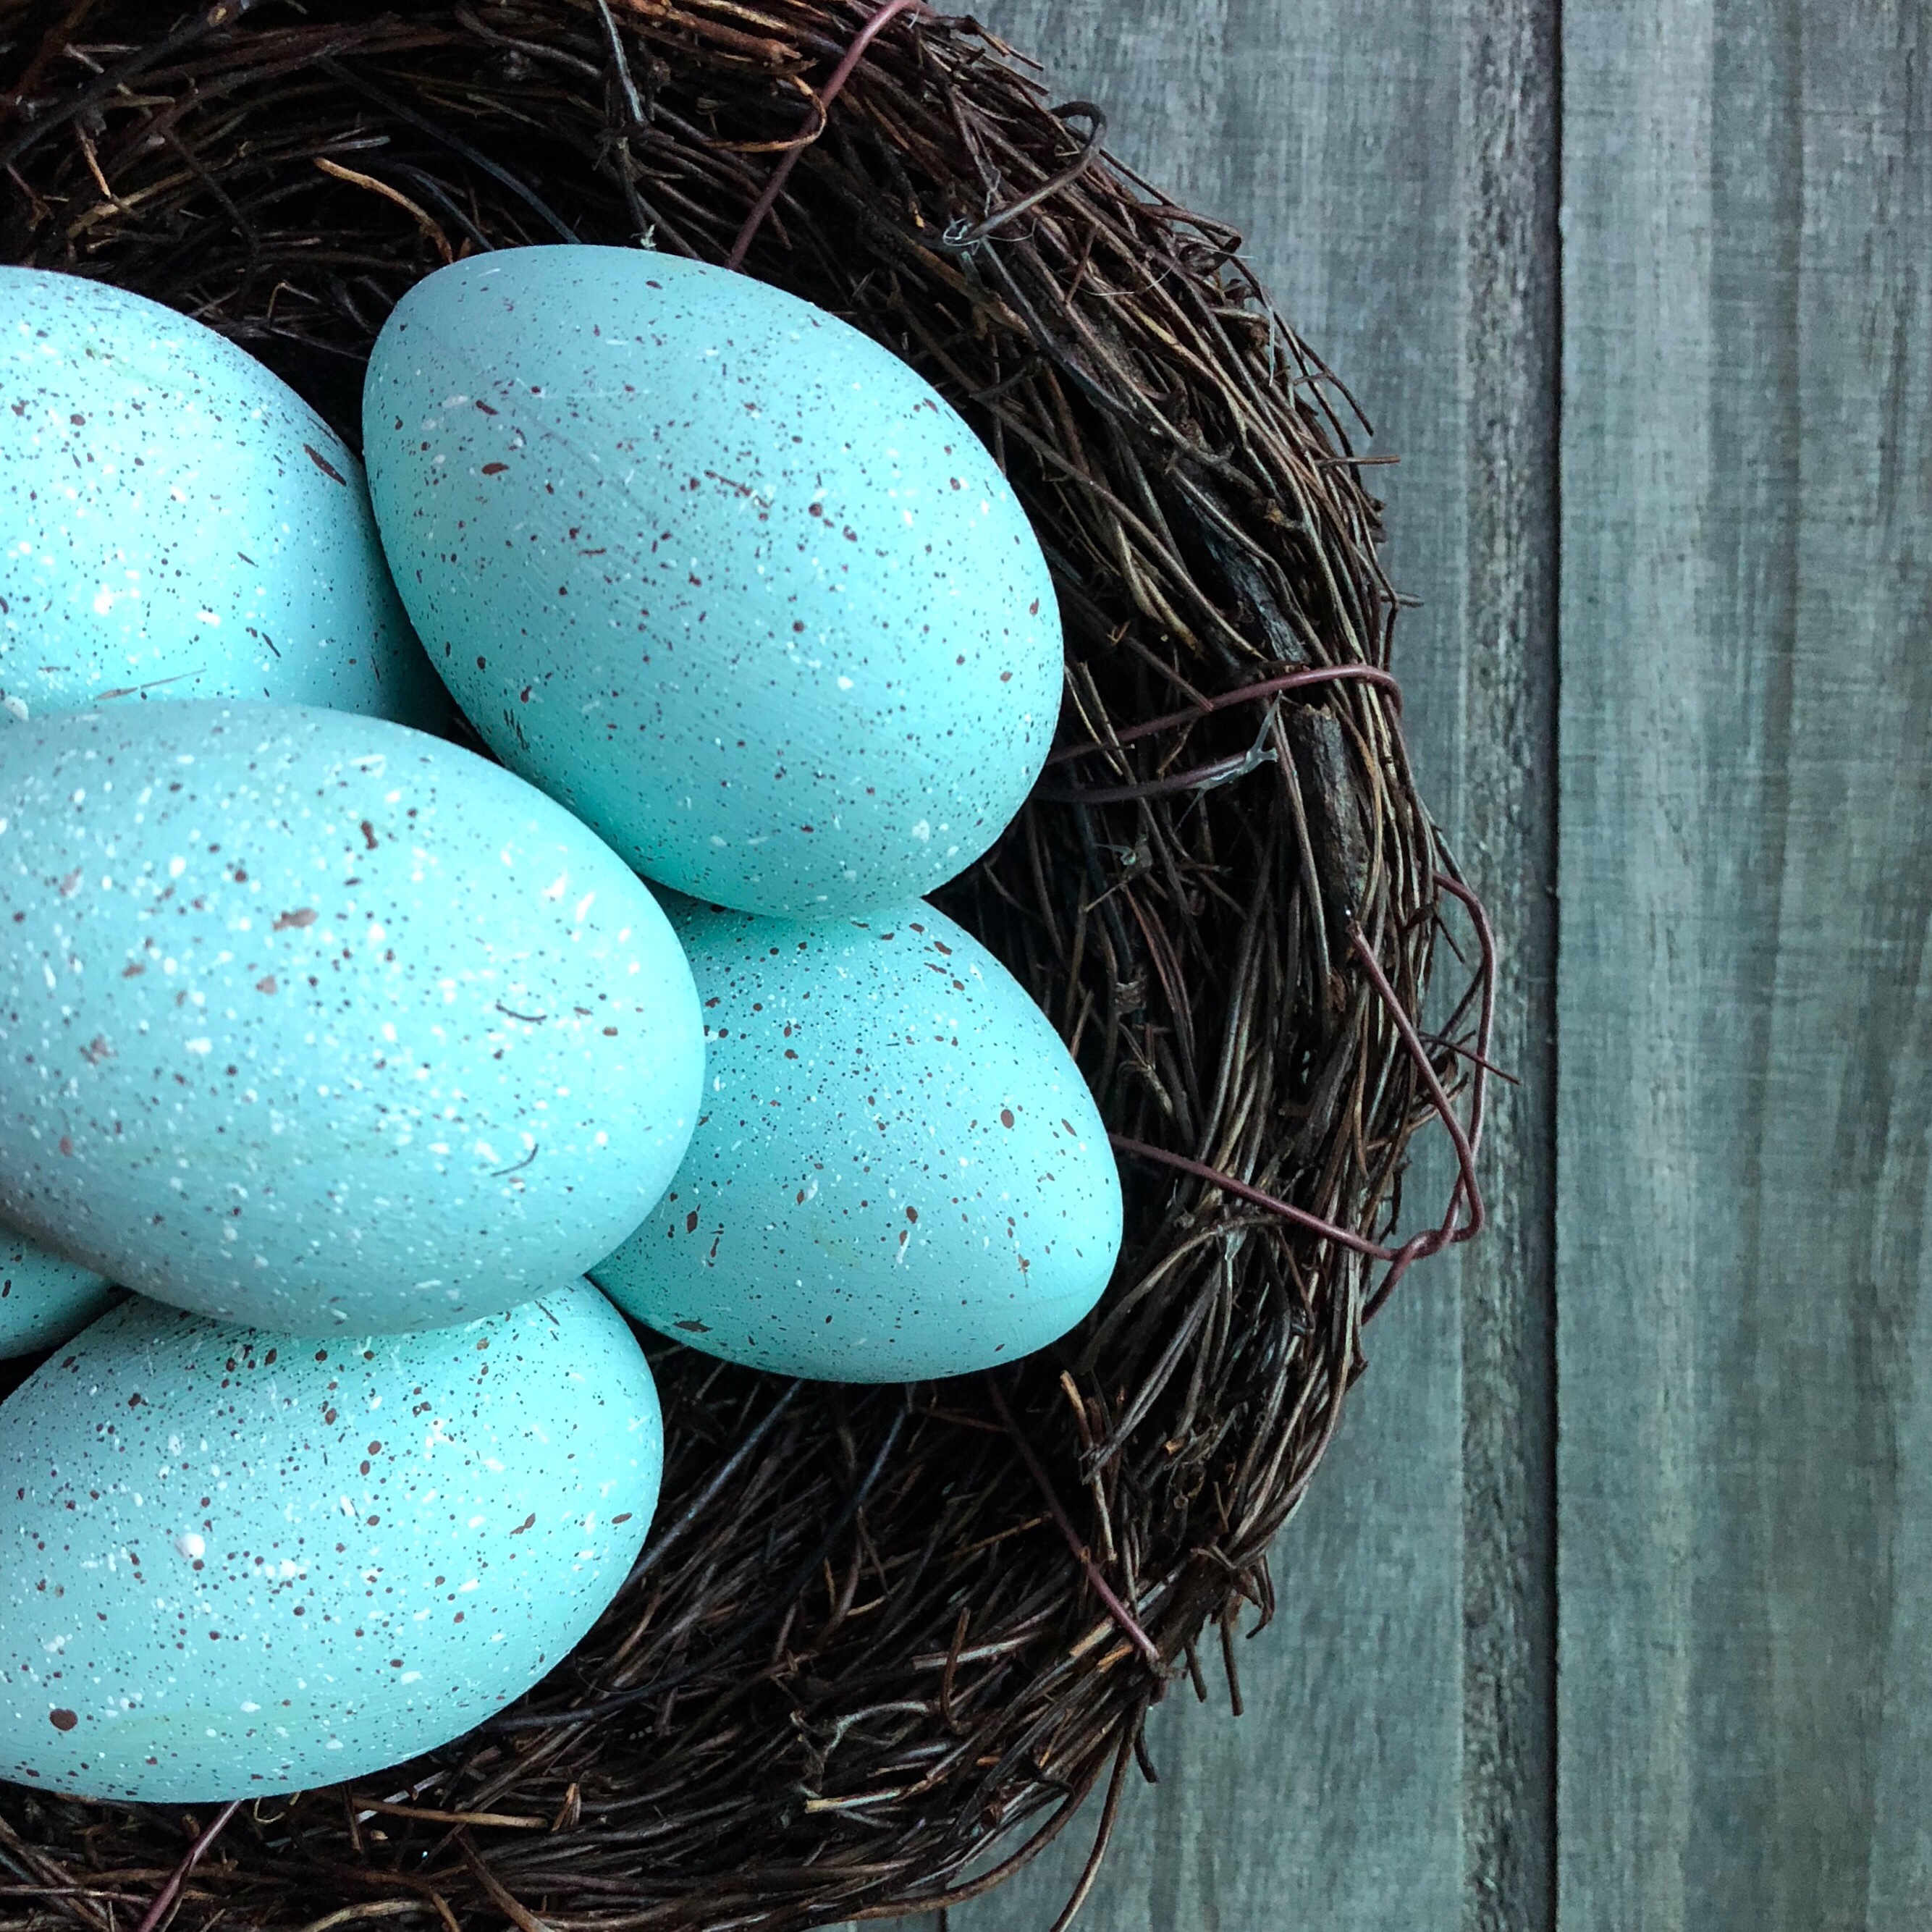
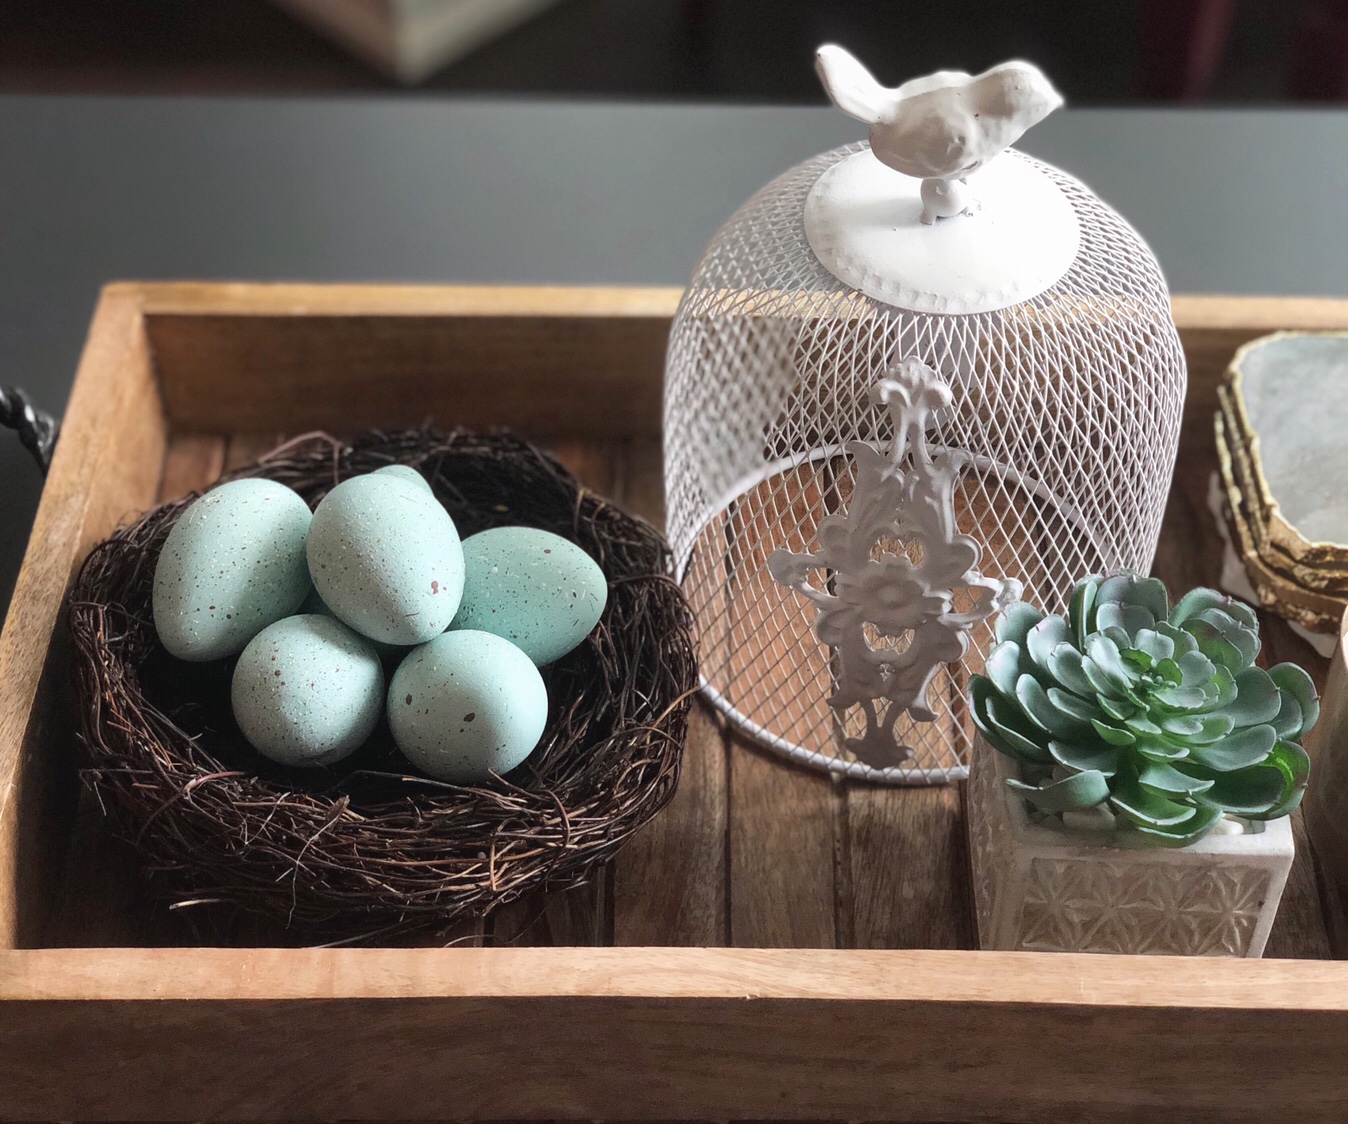
I am so pleased with how my robin’s egg nest turned out, and even more pleased at how easy it was to create. Because they don’t look too “Easter-y”, I feel like I can definitely have them displayed all through Spring because of how subtle and earthy they look. They give off such a peaceful relaxing feeling to me, and I feel like a proud mother goose whenever I glance over them.
Decoupage
While my robin’s eggs were drying, I worked on my decoupage (and vice versa). Taking on these two projects at the same time is totally manageable. I would say the decoupaging requires a bit more precision and patience.
All you need for this project is Mod Podge, scissors, a sponge brush (I’m telling you, you need sponge brushes in your life) and a colourful napkin of your choice.
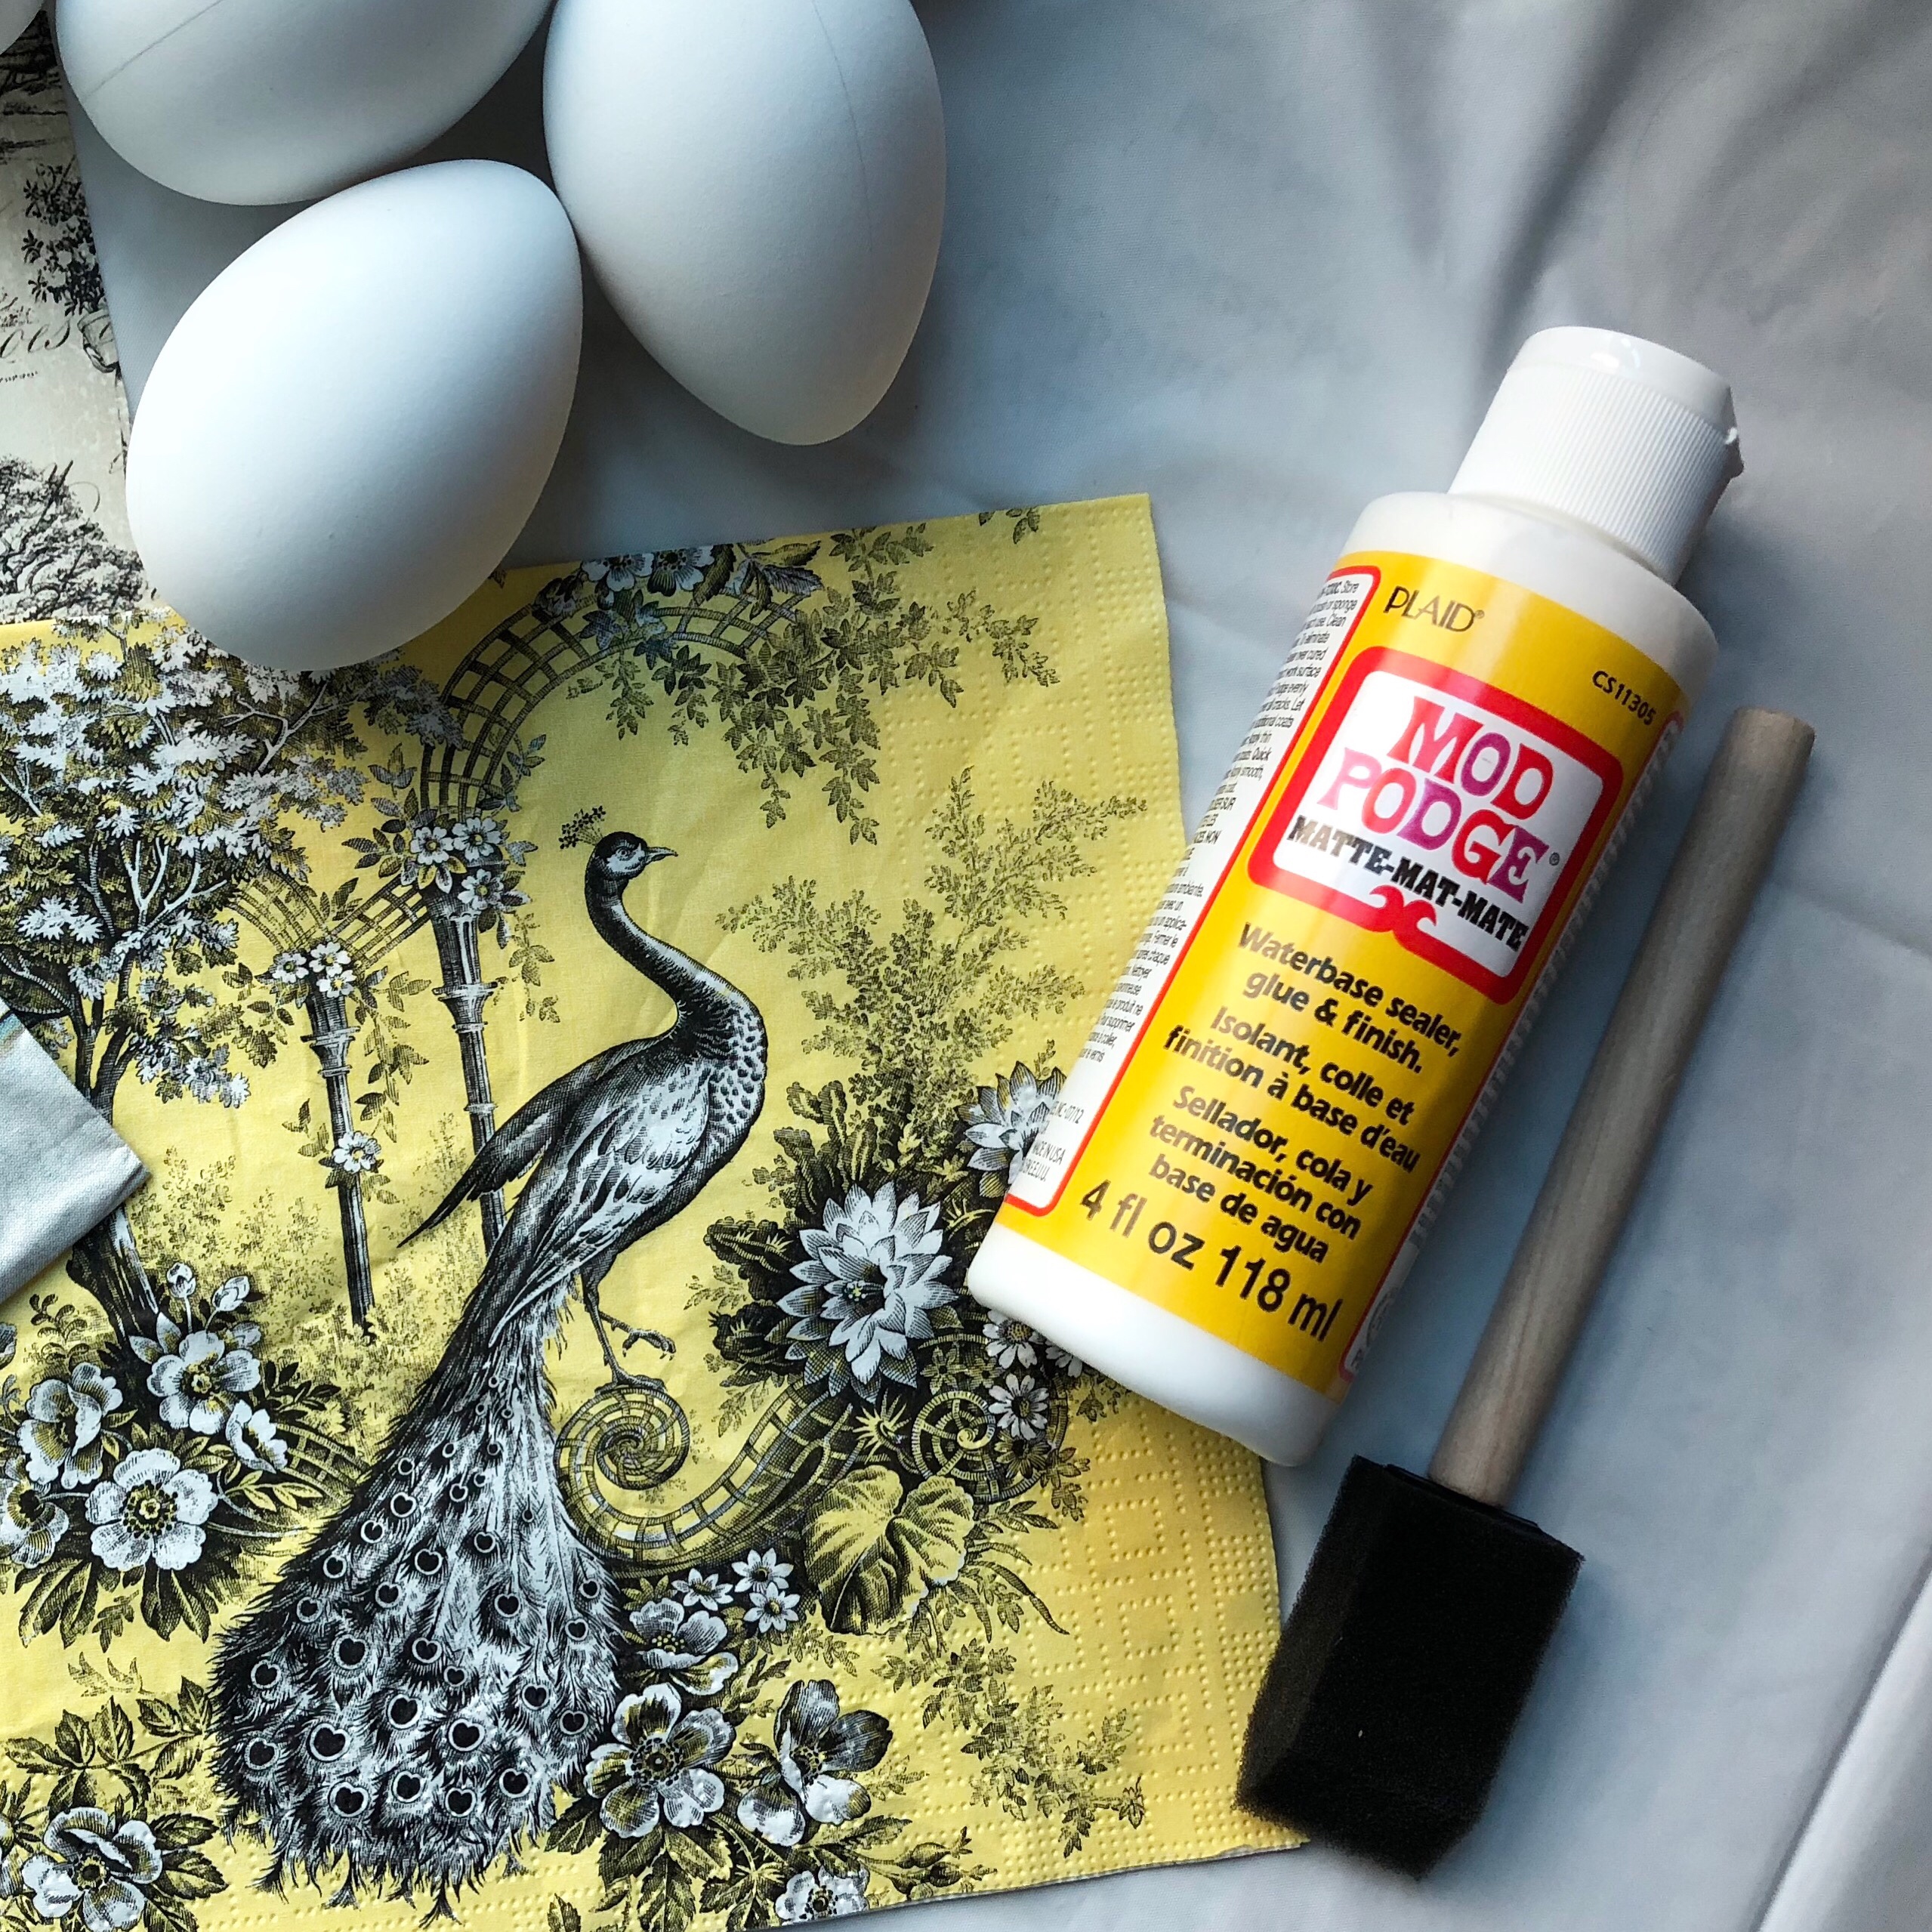
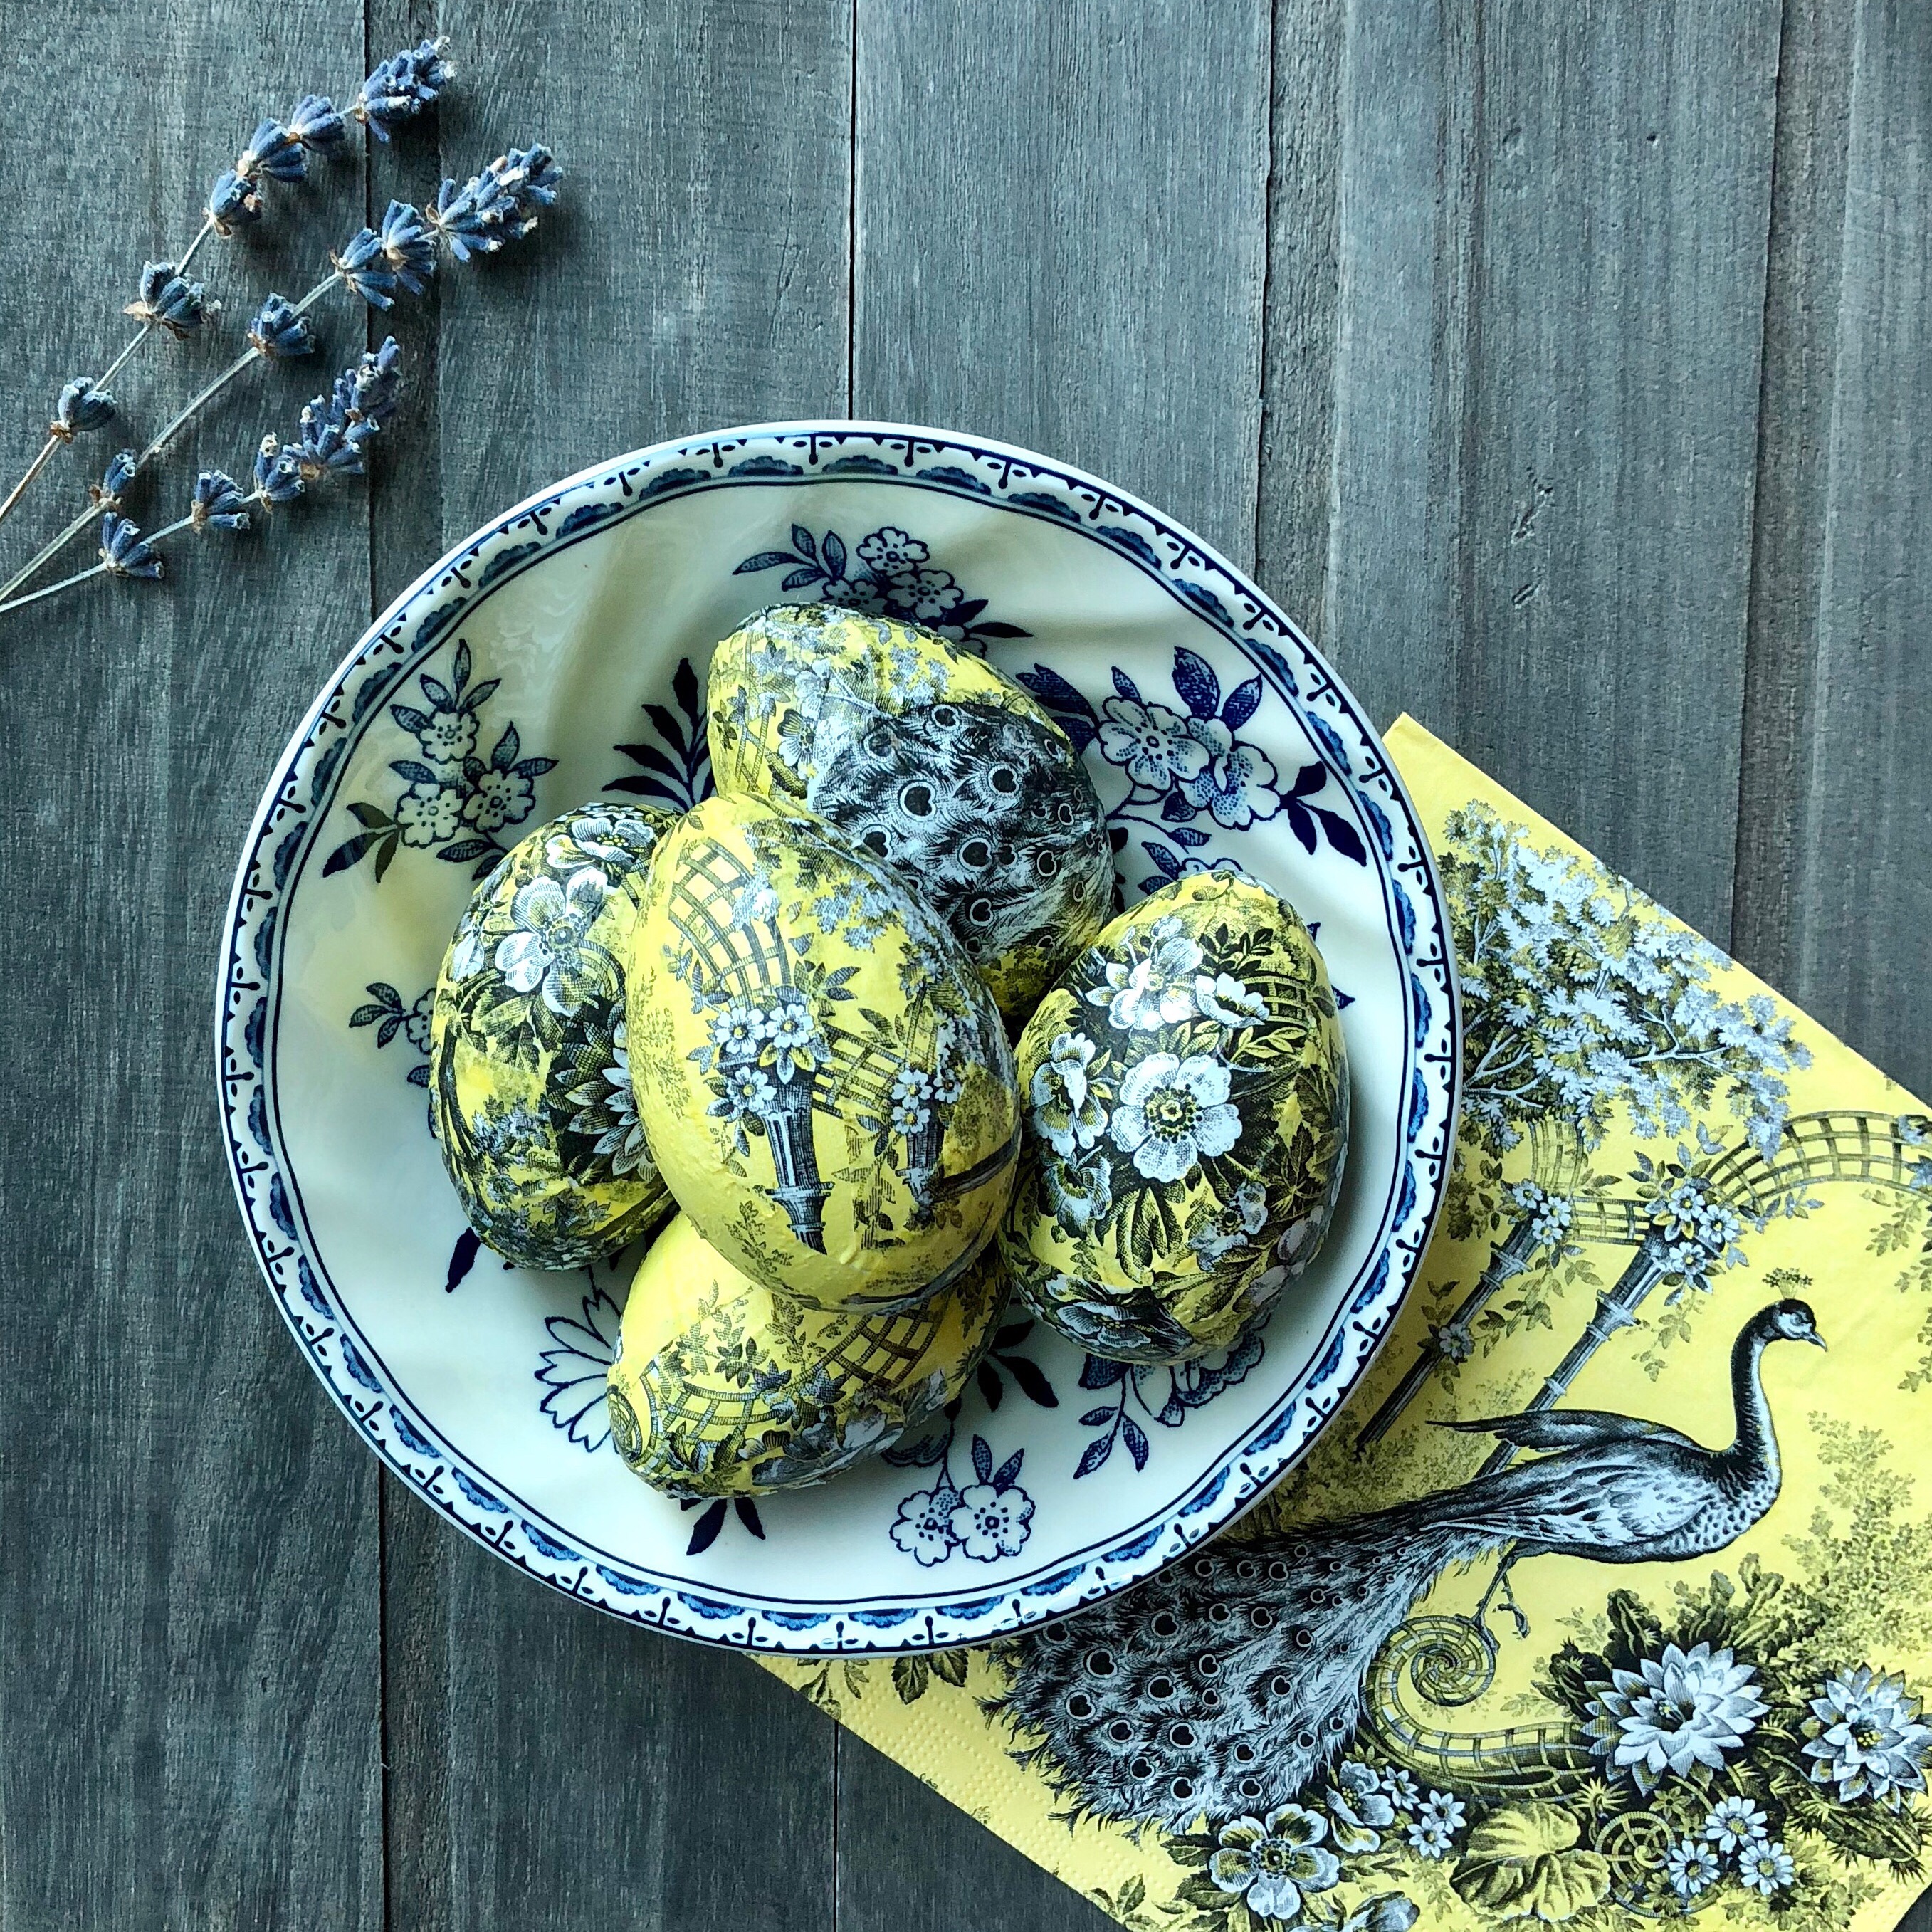
I chose this napkin of a peacock on a yellow toile because the peacock reminded me of an elegant Fabergé egg, and I thought the yellow pattern provided a bright, springtime feel. I also just really love peacocks and though having a bird on an egg would be fitting.
We’ve all done decoupage in grade school so this method isn’t foreign, but in case you need a refresher, you’ll see how easy it is to do decoupage on an egg.
I had to remind myself to be precise and delicate with my application since I’m generally used to “whipping things up” at a faster pace. Just like pysanka did, this method definitely taught me to take my time and to be patient.
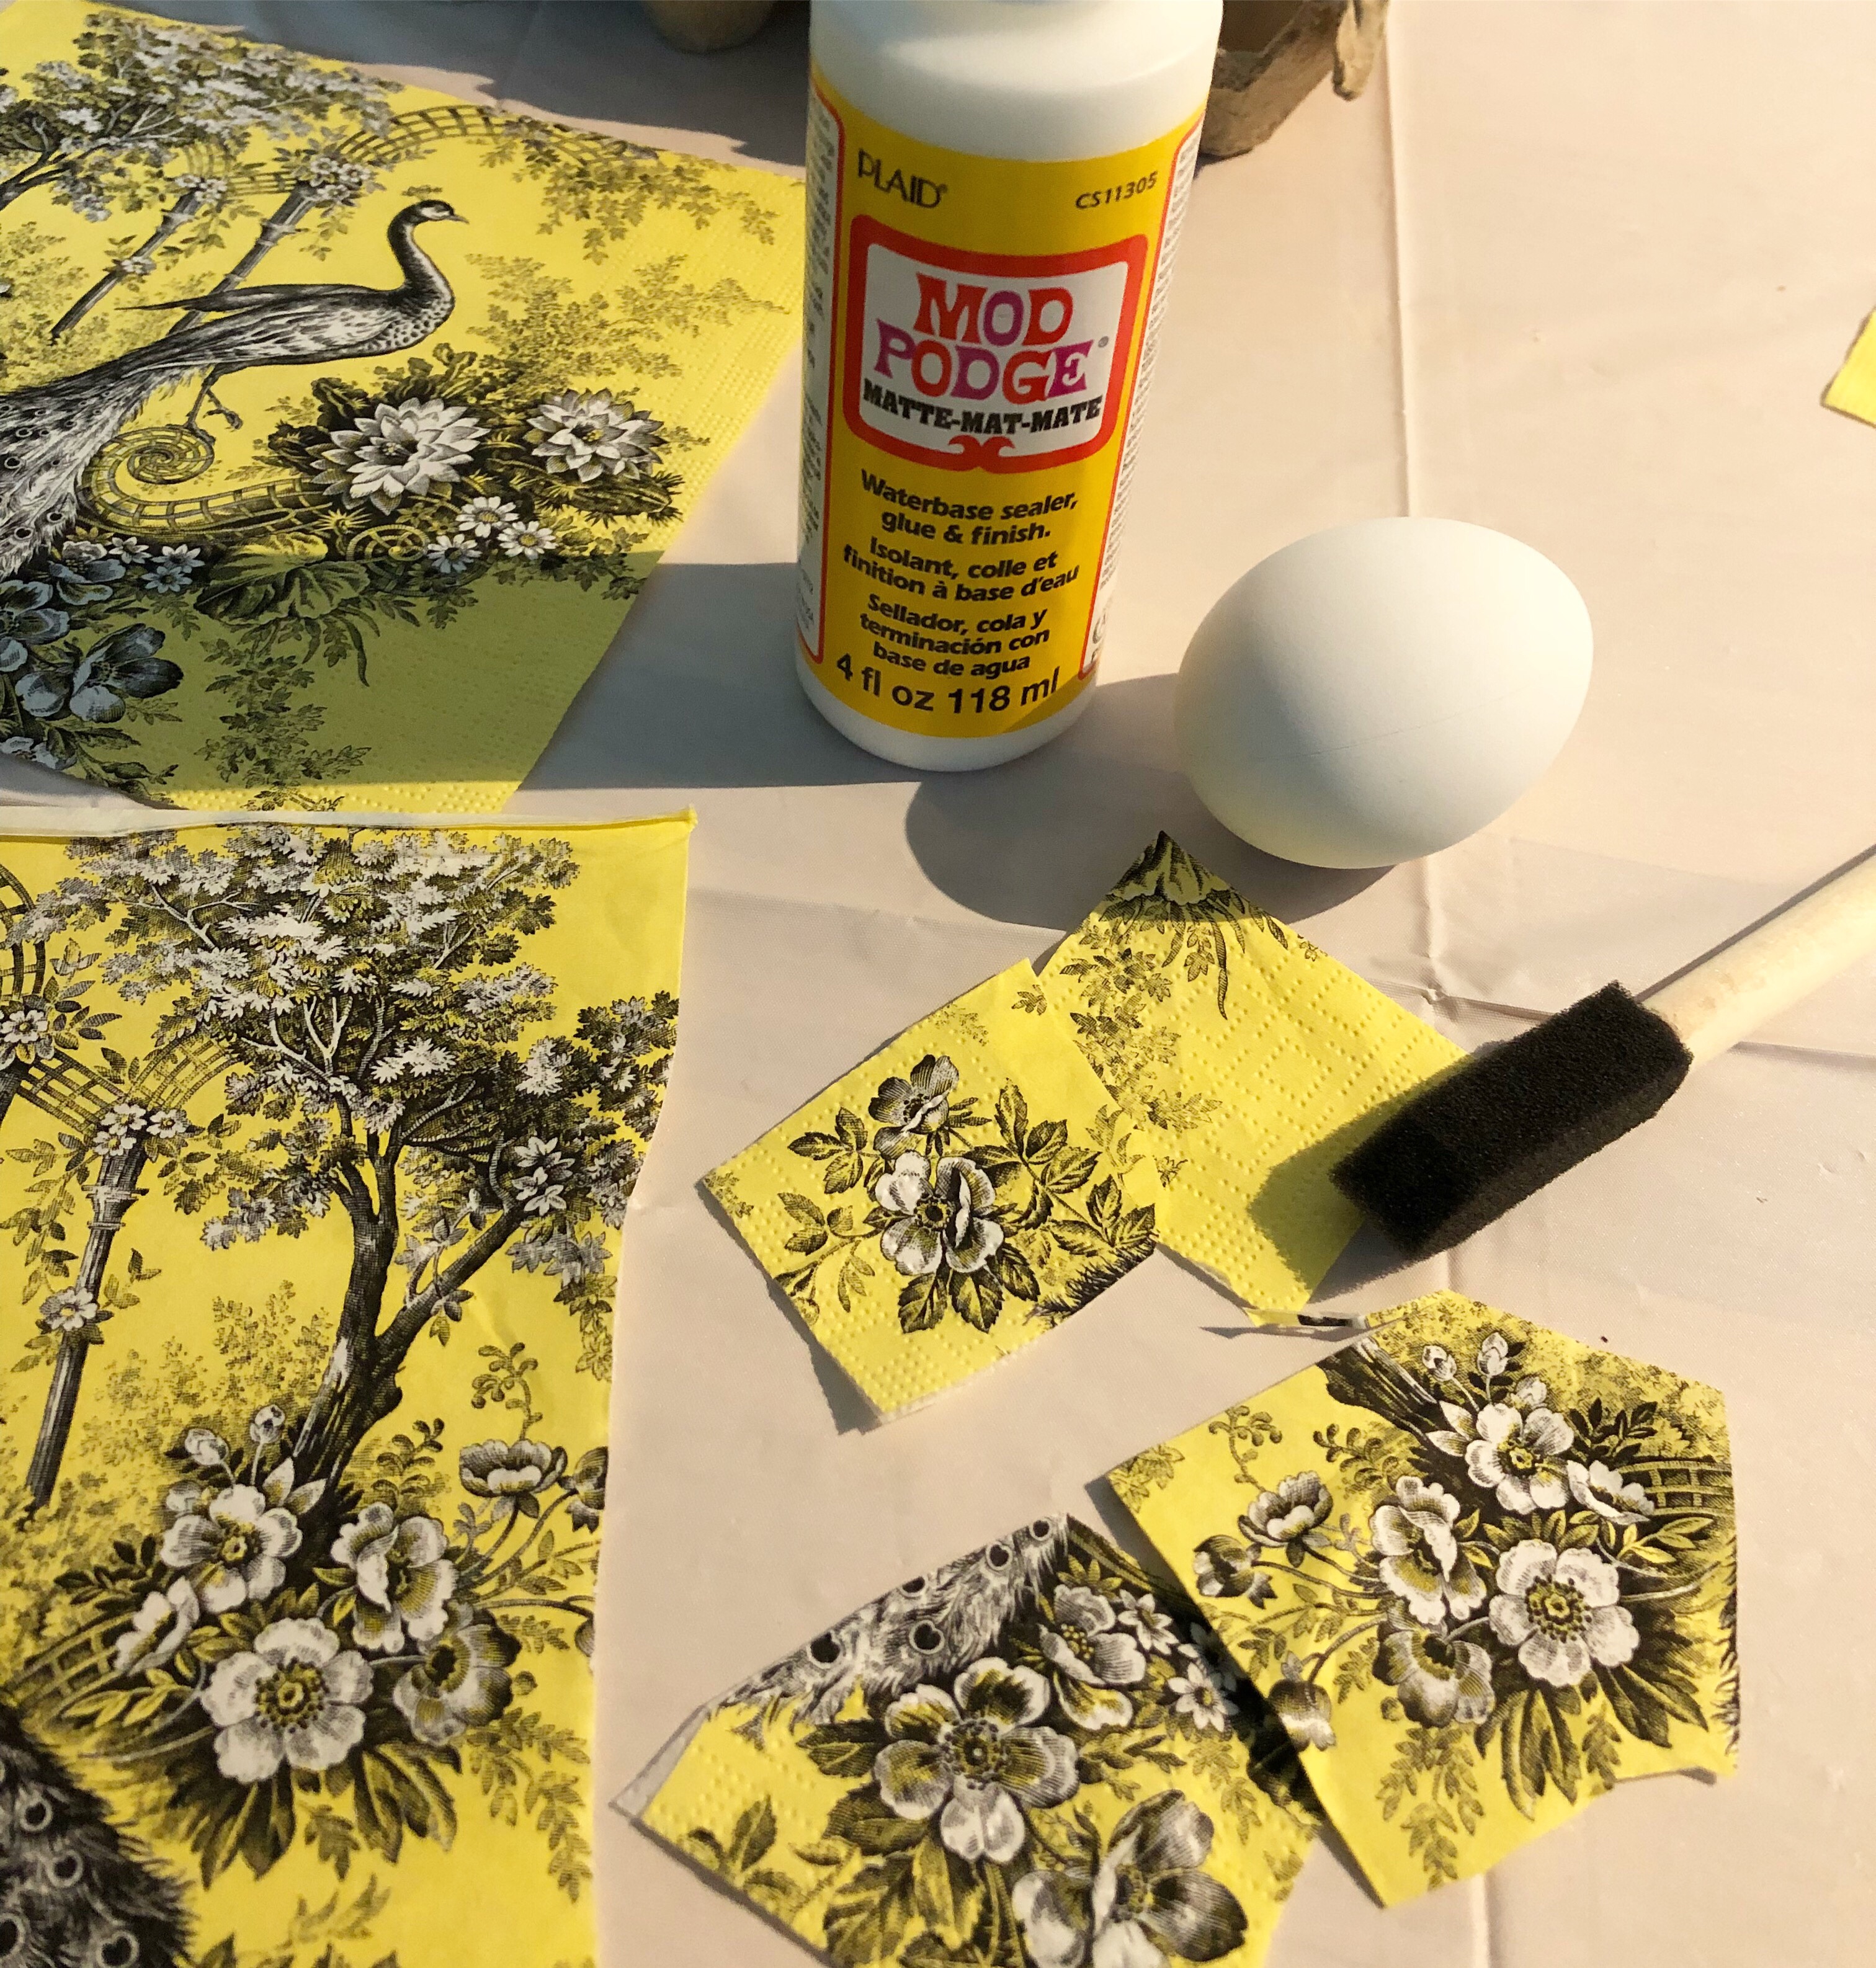
Since the egg is curved and rounded, the key is to cut your napkin in small enough pieces that it would cover an egg surface without having the napkin wrinkle or form an air bubble. The pieces pictured above are actually not final, they were cut up even more. One square of the napkin you see above was cut at least 3-4 times.
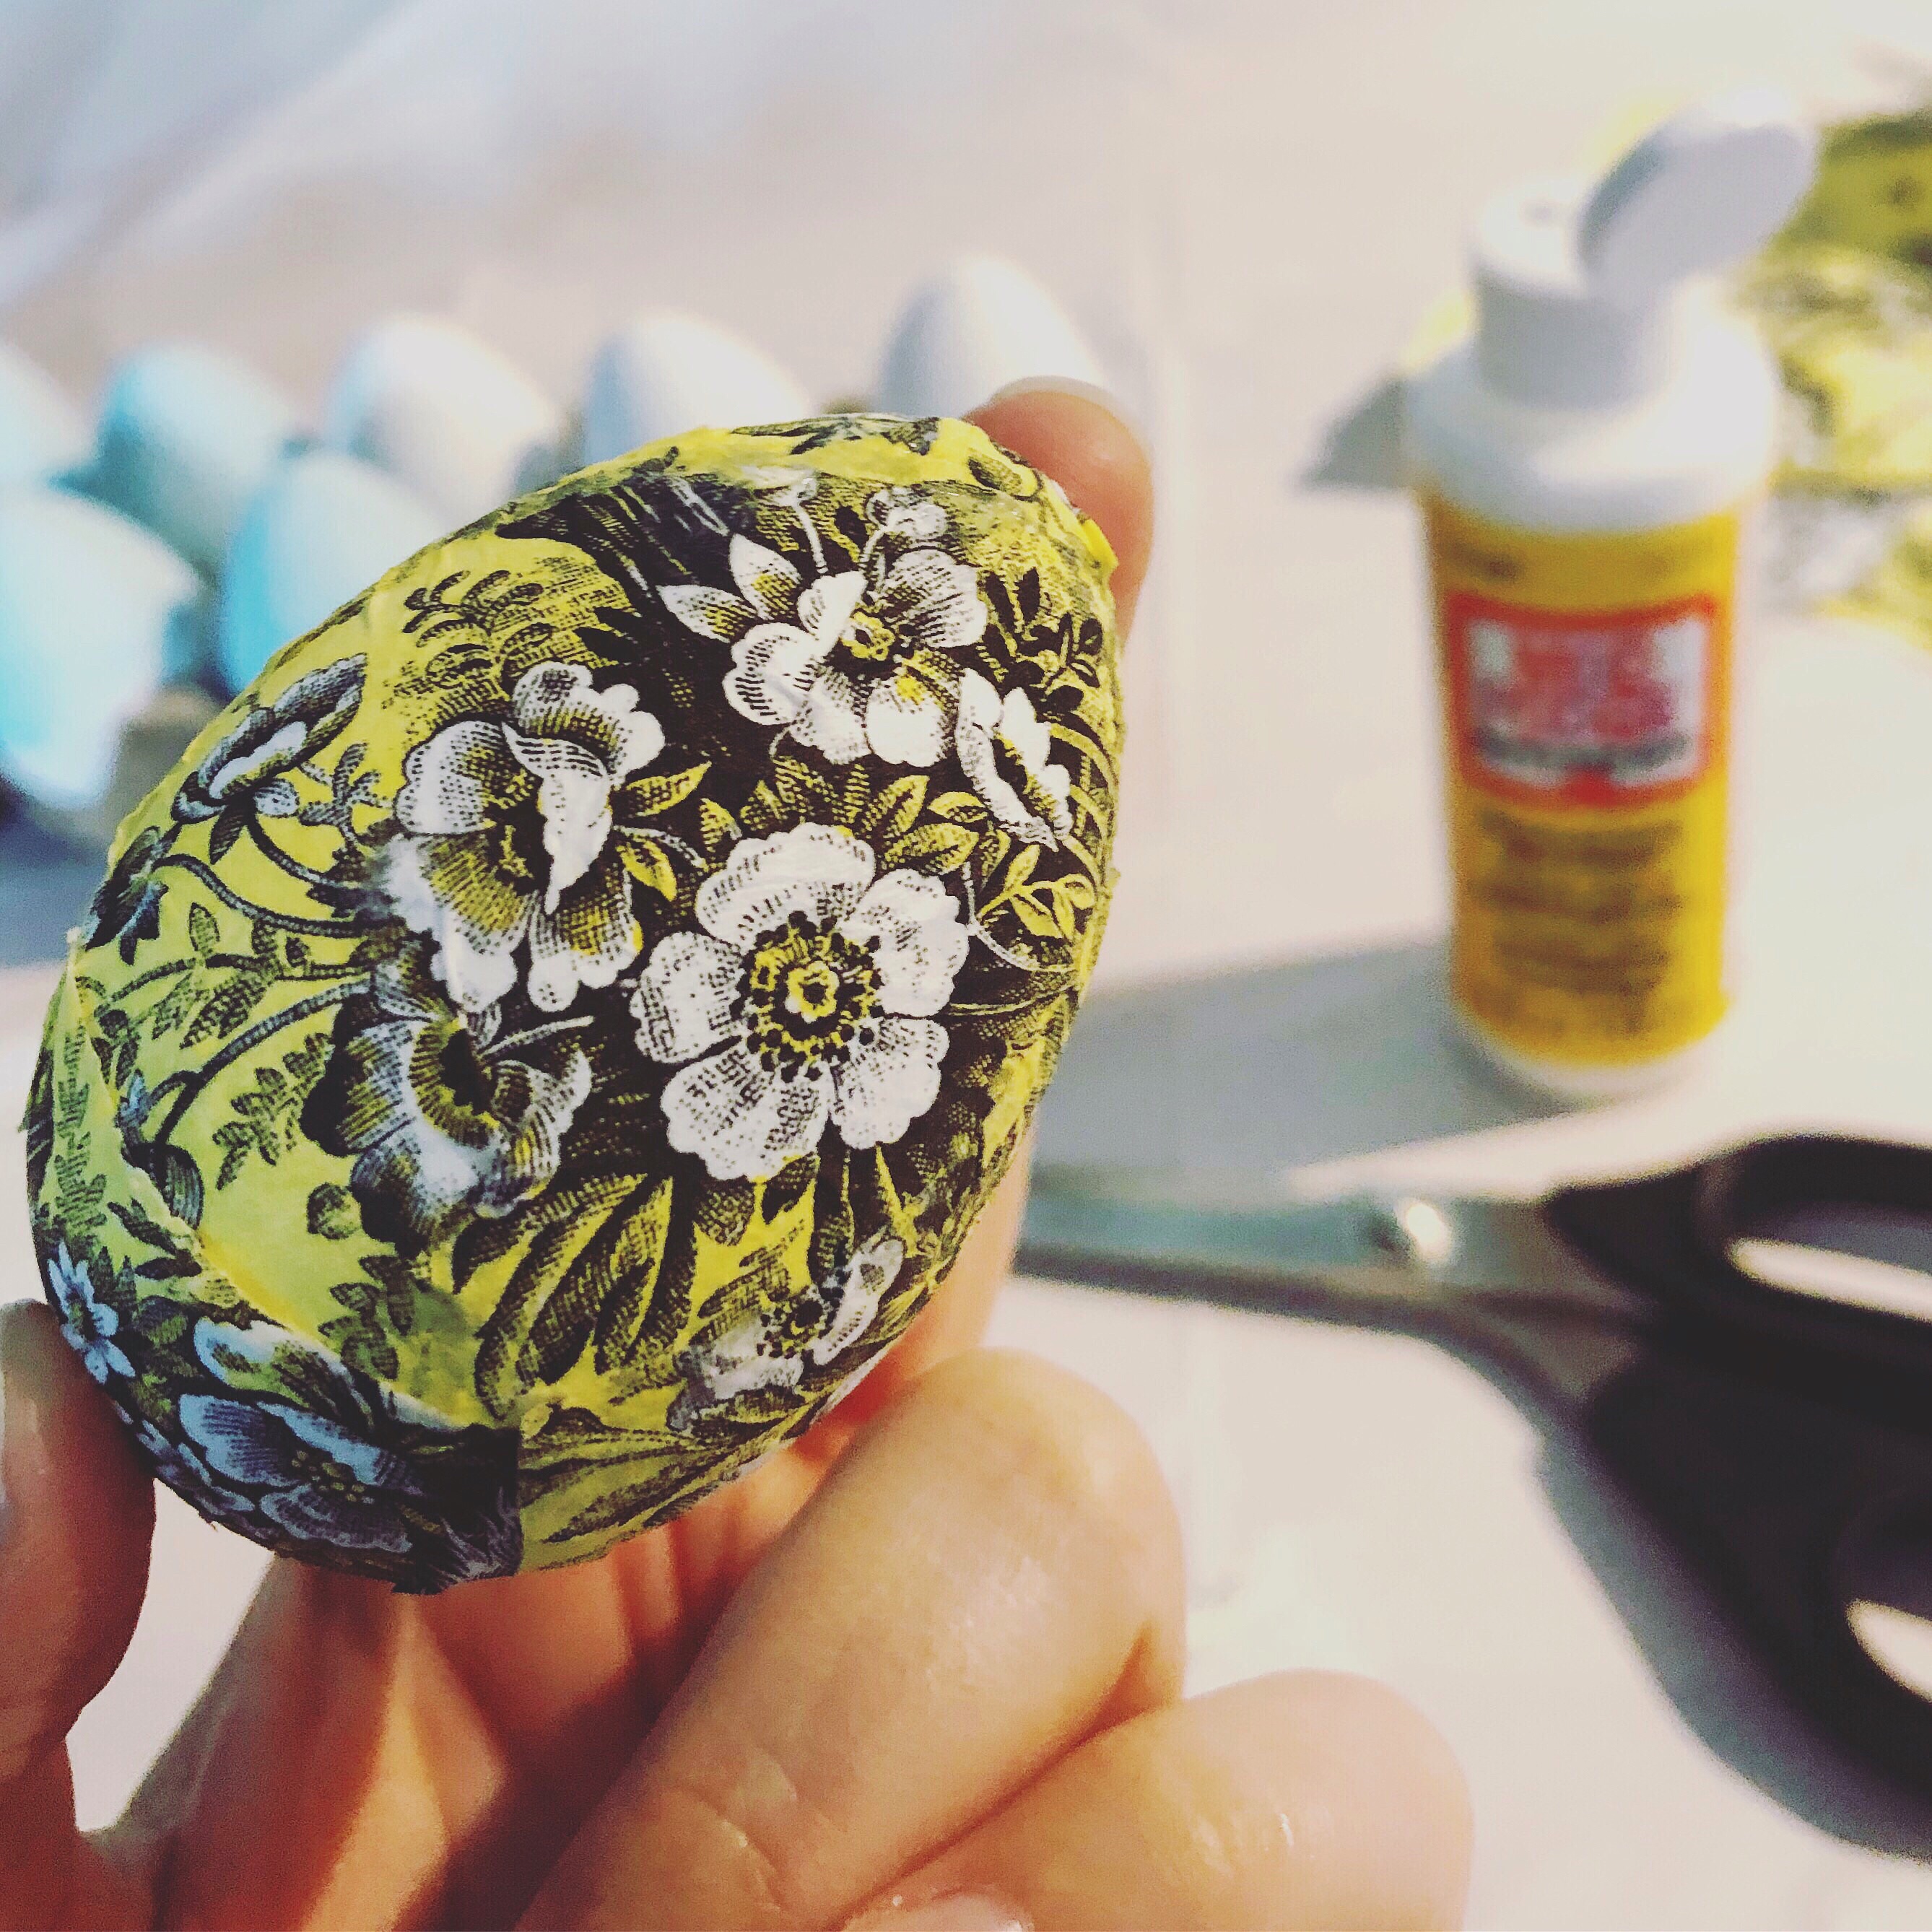
With my handy sponge brush, I applied some Mod Podge on the egg surface I was working on, and on the back of the napkin, and carefully placed it on the egg. I repeated this process with the other pieces until the egg was covered. Once dried, I ran a bit of a Mod Modge over the surface to smooth it out and to provide some sort of lacquer.

And here are my completed decoupaged eggs! I placed them in this vintage bowl to tie in the bright springtime look.
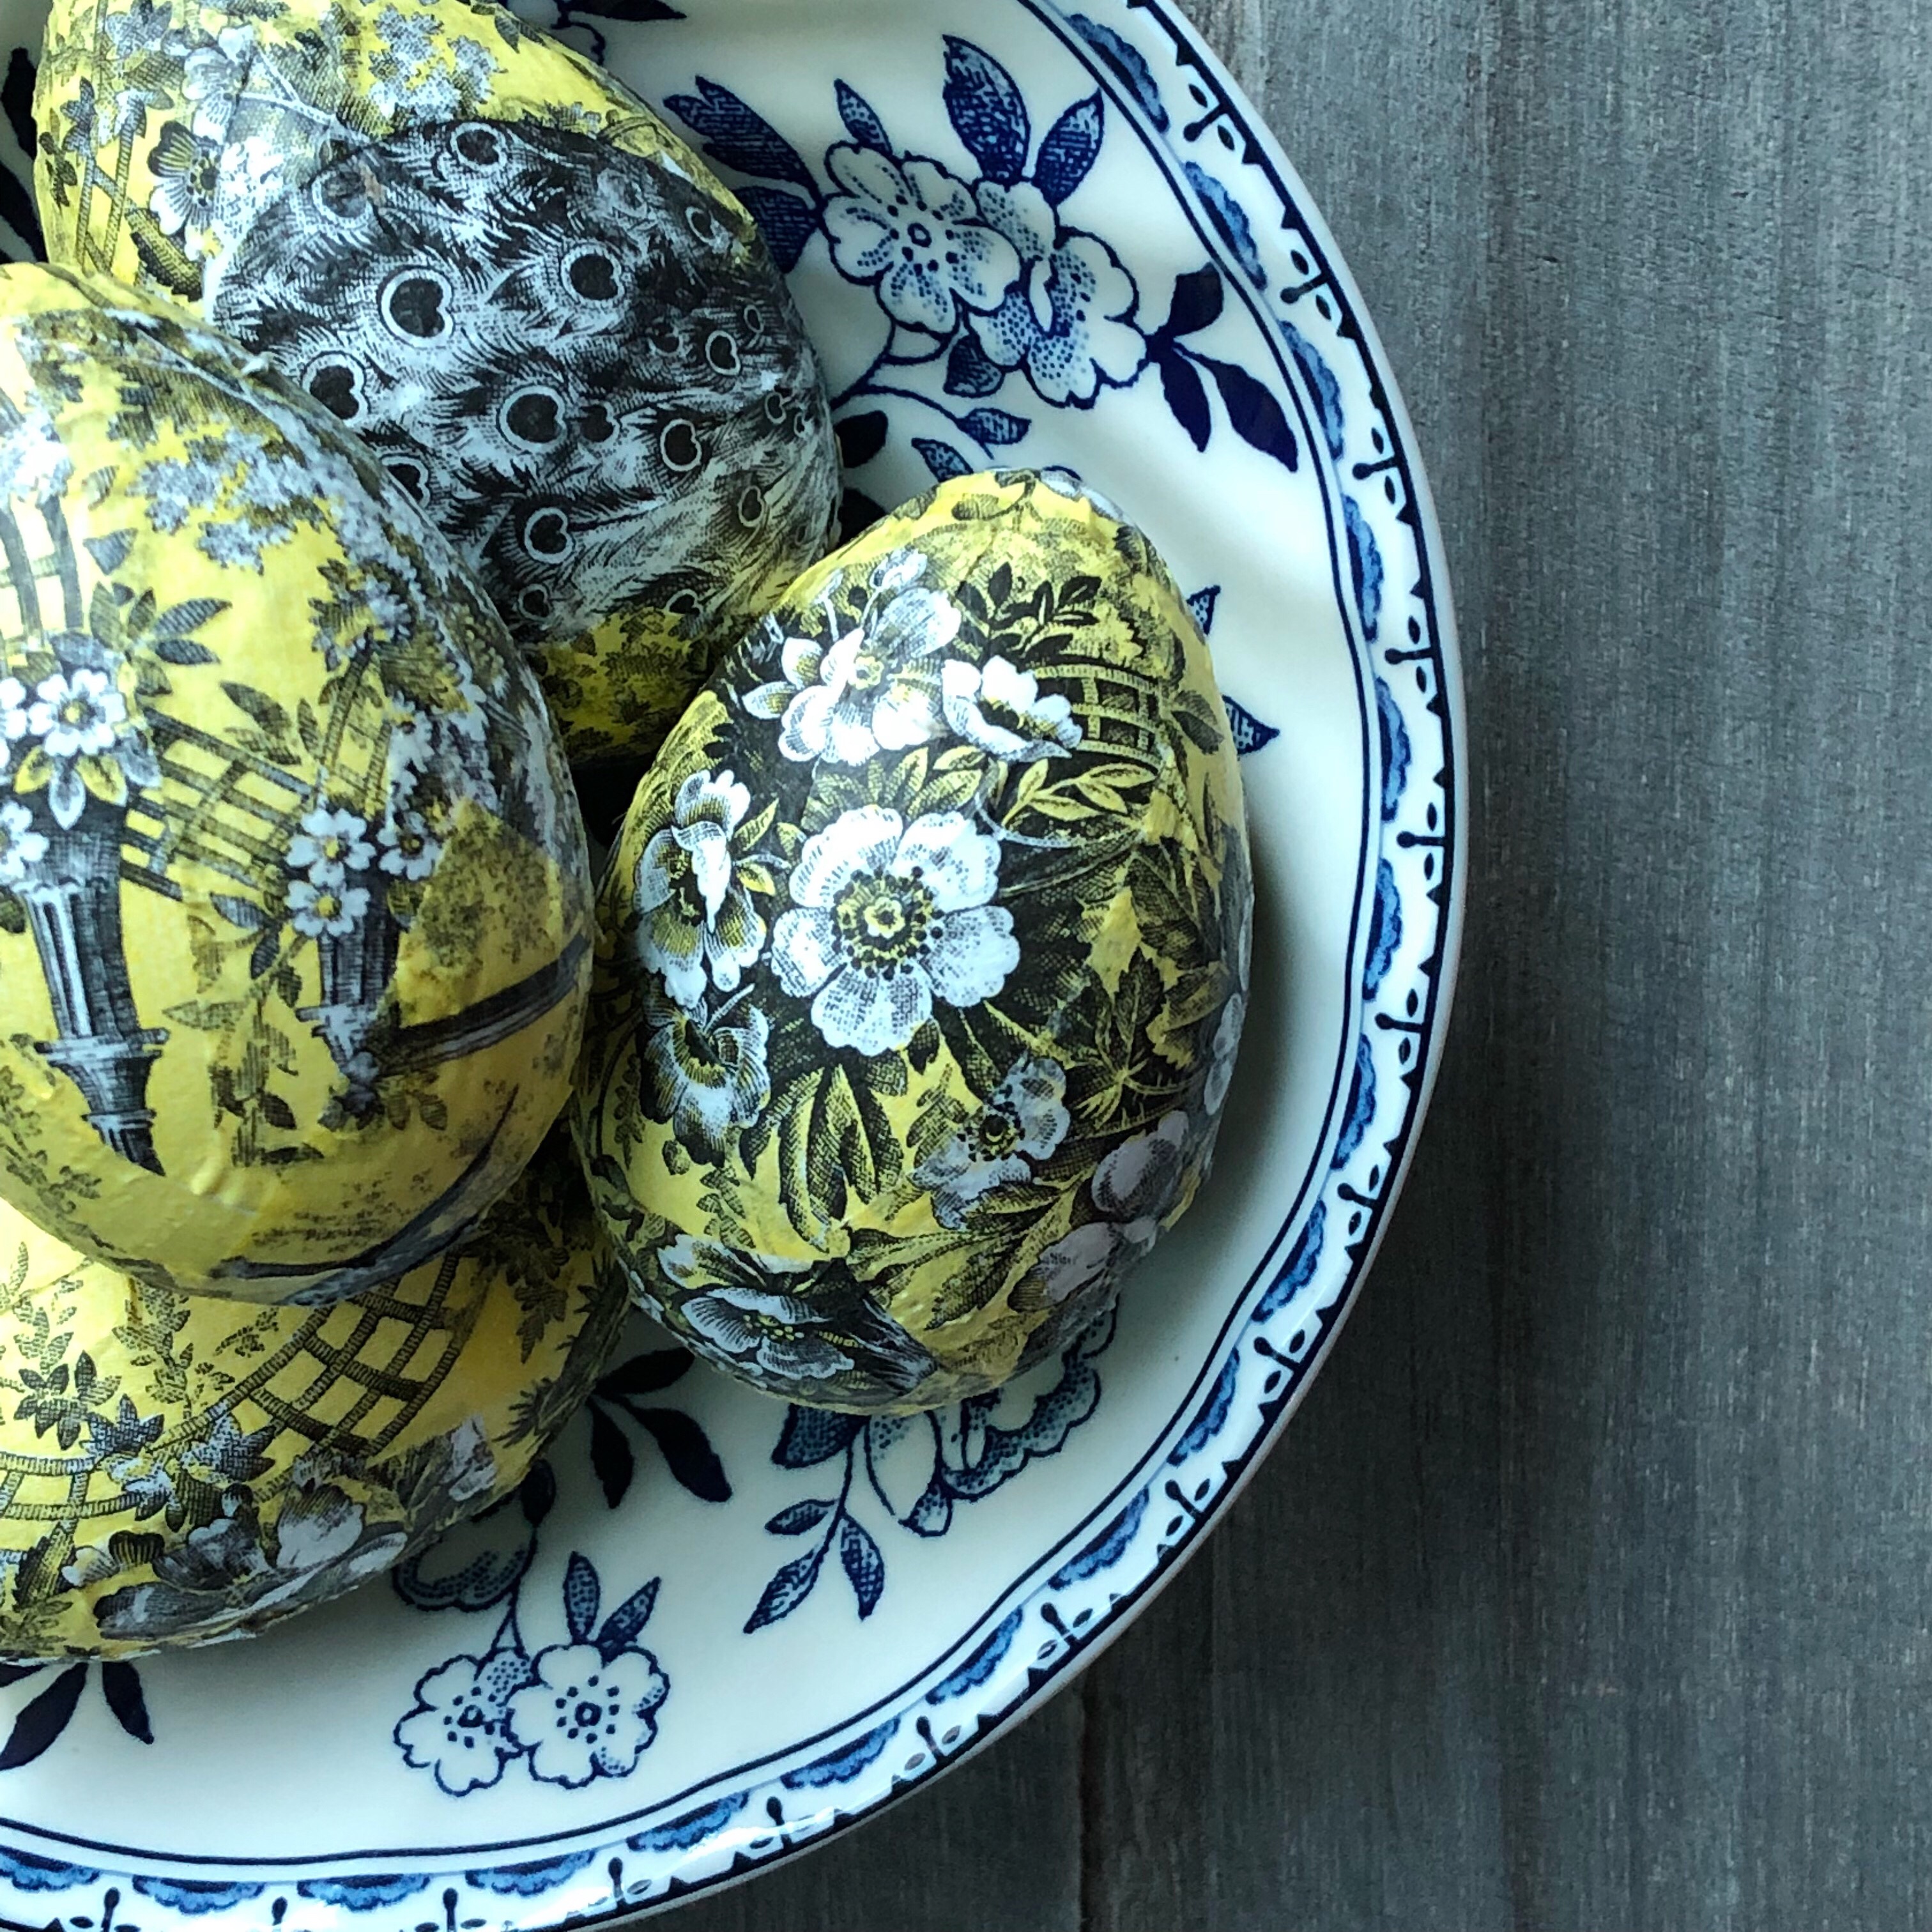
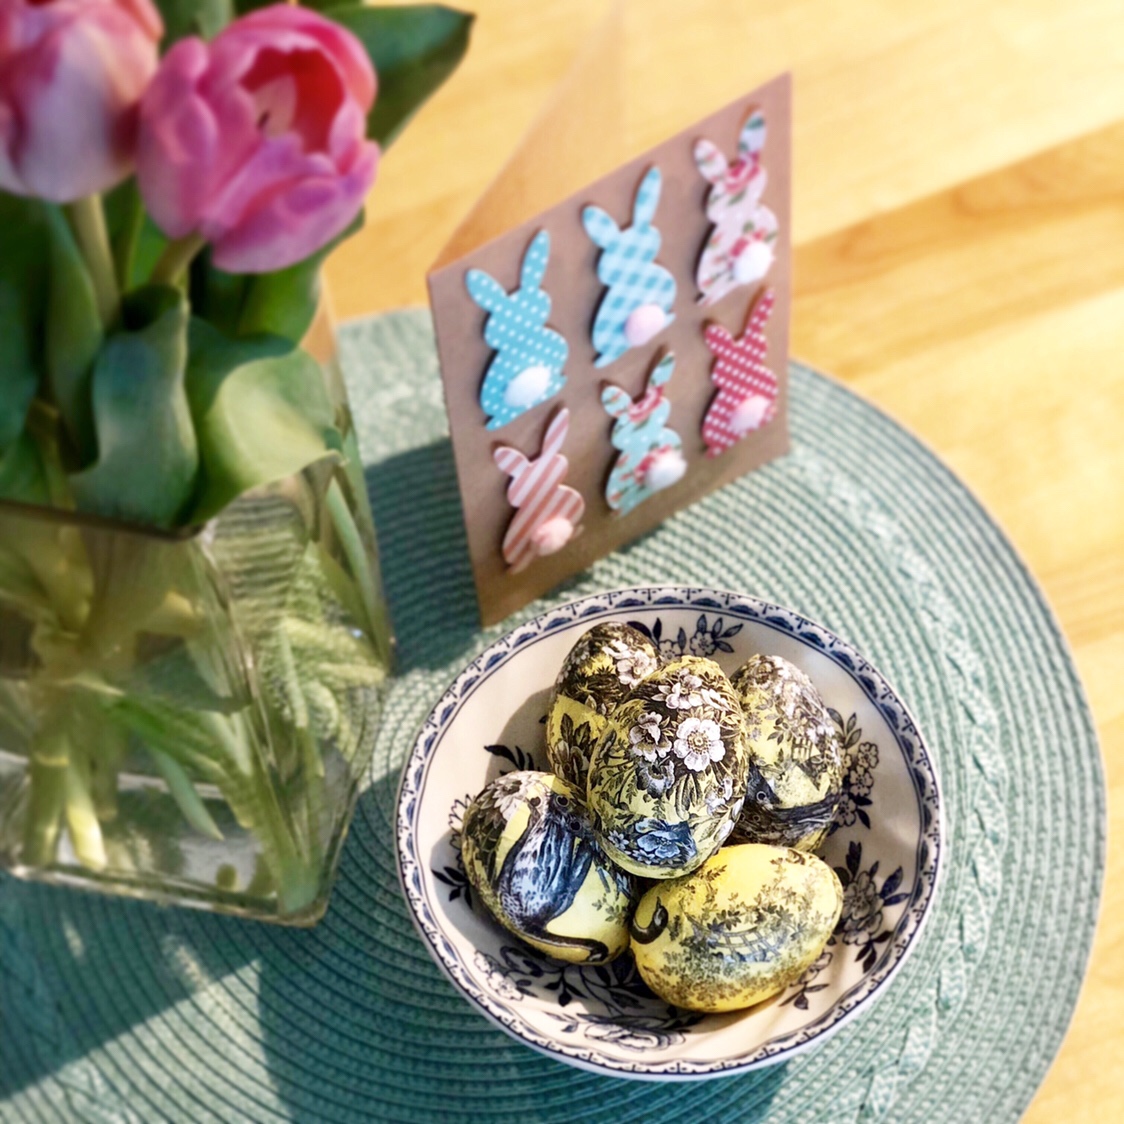
For a completed Easter effect, I placed my bowl of decoupaged eggs next to fresh tulips and a cute bunny card. I love how bright and cozy this looks. The cool thing about decoupage is how it appears like a surface was painted on so intricately, but really, it’s just a napkin with some glue. It looks fancier than it is, and I am all about that.

This was definitely a fun way to spend a “crafternoon”, and an easy way to customize Easter eggs for home decor, and it would even make a cute gift idea for the egg, or the DIY, enthusiast in your life.

Leave a Reply